Making sure your flock is healthy and happy is the responsibility of all chicken keepers. Knowing how to give your chicken a health check will enable you to see that all of your hens are feeling their healthiest. When combined with adequate shelter, nutrition, and enrichment, regular health checks will help your chickens live long, healthy lives. Learn when and how to give your chickens health checks, and familiarise yourself with what’s normal so that you can recognise when something is amiss.
Why are chicken health checks important?
Like other pets, injuries and illness can occur in chickens. Since chickens are prey animals, they are masters at hiding pain and weakness. So while some illness or injuries may seem to occur suddenly to the untrained eye, there may be subtle hints that can be detected through routine health checks.
Routine chicken health checks will also give you a baseline for what’s “normal” for each individual hen. By knowing how your chickens normally look and feel, you’ll be able to more quickly identify a potential issue. Time is of the essence when your chickens are feeling “off” — making regular health checks a vital part of your flock-care routine.
How often should I give my chickens a health check?
It’s likely that you’ll observe your chickens daily as they go about their business in the yard or run. But weekly chicken beak-to-tail health checks are best for heading off potential problems. Each week, handle your hens and go through this checklist: Eyes
Your chicken’s eyes should be clear, bright and fully open. Any amount of discharge, whether clear and watery or thick and yellow or green, is abnormal. Their eyes should also be properly lubricated and not appear dry, and third eyelids should slide easily and retract fully.
Nose
Nostrils, or nares as they are called in chickens, are located on the top of the beak near the eyes. Nares should be clean and free from debris, and should not have any discharge. Breathing sounds should not be audible.
Beak
Your chicken’s beak should be smooth, without cracks or other damage. The top and bottom should align, with the top being slightly longer. Healthy chickens keep their beak closed most of the time.
Comb
A grown chicken who is not broody or moulting should have a firm, bright red comb. It should be positioned according to the breed standard, i.e. if the breed’s comb is upright, it should not be hanging or looking shrivelled.
It’s especially important to check combs and wattles in winter, as they are prone to frostbite. Larger combs can be protected by a daily layer of vaseline.
Crop
Chickens have a “crop” at the base of their esophagus that holds their food before it’s moved through the rest of their digestive system. You can feel the crop by palpating by the breastbone of your chicken at the base of their neck. It’s easiest to feel when your chicken has just eaten — it will feel firm and about the size of a golf ball. Empty crops usually can’t be felt.
When you first let your chickens out in the morning their crops should be empty, as they should have spent all night digesting their food. After eating, the crop will feel firm, but not rock-hard. If it never feels empty, full even after not having food all night, or if your hen’s breath is foul smelling, you could be dealing with an impacted or sour crop.
Feathers
With the exception of moulting season in chickens, your hens’ plumage should be full and shiny. Bald patches, broken feather shafts, or unkept feathers can all be signs of stress, parasites, or behavioural concerns.
Legs and feet
Your chicken’s legs should appear smooth, with the scales lying flat against the bone — raised or dry scales can be an indication of scaly leg mites. The bottoms of the feet should be smooth and free of cuts, discoloured spots, or bumps. Large bumps on the bottoms of the feet can indicate bumblefoot in chickens, which is a bacterial infection.
Vent
The vent, or cloaca, of chickens is where eggs and eliminations are expelled from the hen’s body. Laying-age hens have pink, wide, and moist vents, while vents in older hens may appear dry and more pale. Healthy vents should never protrude or appear injured. Mites and lice gravitate toward this area, so check for black specks of debris or skin irritation.
Droppings
Slide out dropping trays, like those on Eglu chicken coops, help you keep an eye on your flocks eliminations. Chicken droppings should be formed and somewhat firm, and dark brown in colour. Loose, white portions on these droppings are also normal. Your chickens’ droppings will vary depending on their diet for the day, but should always revert back to “normal” within a day or two of eating new or diverse foods. Extended periods of loose stool, or bloody stool is an indication of illness or stress.
What to do if your chickens aren’t feeling their best
If any of your findings during the chicken health check are abnormal, it’s best to separate the affected hen from the rest of the flock and contact your veterinarian for further guidance. Make sure that you have a veterinarian that treats poultry as a point of contact. Some veterinarians may be able to come to you, or give you advice over the phone on how to proceed with any chickens that feel under the weather or that appear injured.
Isolate ill or injured hens until their symptoms have cleared, or until you’re advised by your veterinarian that it’s ok to reintroduce them back into the flock. Having a back up chicken coop to serve as a hospital wing or quarantine coop is always a good idea. This will ensure that the chickens that any chickens that aren’t feeling their best will still be housed in the best accommodations possible — which will help aid in reducing their stress and boosting their recovery.
Omlet and your healthy hens
A healthy flock starts with their housing and care. Our chicken coops are easy to clean, and offer the support and security that your flock needs. When they’re not sleeping or laying eggs in their coop, your hens will enjoy their time outside safely inside our walk in chicken runs, protected from predators. Add chicken run weather covers, and your flock will be ready to enjoy healthy, happy seasons in their home with you.
Chickens’ fondness for perches is instinctive. Our pet chickens descend from the Asian Jungle Fowl, that roosts high up on tree branches, and holding on to a perch is as natural to hens as scratching and egg-laying.
Most of the breeds we keep today are however not able to get up a tree even if they were offered one to roost in – they are too big and heavy. But by holding onto something, chickens get a sense of security, as perching initially was a strategy to get away from predators.
The Eglu Chicken Coops have perfectly rounded roosting bars that the chickens will love sleeping on at night, but it’s advisable to also provide them with a perch in the run. A wooden stick might not seem like much fun to us, but a perch is an excellent way of enriching their enclosure.
The Omlet Chicken Perch is purposefully designed to be comfortable and easy for hens to use, and it is also durable and super simple to install on your run. Choose between the 1m or 2m, and add enough to make sure all your chickens have a spot to take a break and watch the world go by.
Chickens without perches are more likely to attract mites and lice, or pick up bacteria from sitting on the ground. The stress of not having a place to roost can also lower their immune system and reduce egg-laying.
Take this unique opportunity to save ⅓ on the Omlet Chicken Perch and give your chickens a new toy they will love! Use promo code PERCH4LESS at check out to claim the discount!
Terms and conditions Promotion of third/33% off The Omlet Chicken Perch runs from 10/09/20 – midnight 14/09/20. Use promo code PERCH4LESS at checkout. Includes Omlet Chicken Perch 1m and 2m. Offer is limited to 2 Chicken Perches per household. Subject to availability. Omlet reserves the right to withdraw the offer at any point. Offer cannot be used on delivery, existing discounts or in conjunction with any other offer.
FALSE – Chickens actually have superior colour vision to humans. Thanks to five light receptors in the eye (humans only have three), they can see many colours more vividly than us.
Chickens can be half male, half female – split down the middle
TRUE – Due to a phenomena called bilateral gynandromorph there are chickens where one side of the body is male (large wattle, spur and muscular breast etc.) and the other side is female (duller plumage, smaller comb, slighter build etc). Worth a google!
There are as many chickens as there are humans on earth
FALSE – There are almost 4 times as many chickens as there are humans, more than 25 billion. In fact, there are more chickens in the world than any other bird.
Chickens navigate through magnetic fields
TRUE– Like other birds, chickens use the magnetic fields of the earth to orientate themselves and navigate around their home environment. Additionally, studies show that chickens use the sun to tell the time of day. Daylight intensity is also what tells cockerels when to crow in the morning and when to go roost at night.
Chickens are cannibals
UNDECIDED – You might have heard about cannibalism in poultry, and it does happen that chickens start pecking the flesh of other hens. This is however not a natural behaviour seen in the wild, but a result of a stressful environment with limited space in large egg or meat factories. A happy chicken will not eat its friend.
Chickens have no taste buds
FALSE – While it may seem like chickens will eat just about anything you put in front of them, they do have taste buds, and personal preferences. A chicken can’t taste sweetness or spiciness, but can tell saltiness, sourness and bitterness apart.
The colour of the egg affects the nutritional content
FALSE – Despite what some egg producers have claimed during the years, brown eggs are not healthier than while ones, or vice versa. The colour of the shell only depends on the breed of chicken it came from, and will have no impact on taste or nutritional content.
If you chop their heads off, chickens will keep running
TRUE – Some chickens will indeed keep running after having their head chopped off. The pressure from the axe triggers nerve endings in the neck, sending a message back to the muscles telling them to move, without the brain actually being involved.
The chicken is then moving while actually being dead, but in the case of Miracle Mike, the farmer who tried to kill him aimed a bit high and accidentally left a bit of the brain that chickens keep at the back of their necks. This made it possible for Mike to live for another 18 months (!) after his head had been removed.
You can hypnotise a chicken
TRUE – There are several ways of putting a chicken in a trance, but the most common one involves holding the chicken with its head close to the ground, and drawing a line in the ground going outwards from the beak. This will paralyse the chicken, and she will stay laying still until you clap or poke her.
While it probably won’t hurt your chicken to hypnotise it like this, it’s unclear how much stress it causes her, so make sure not to do it too frequently.
Hens are always talking amongst themselves. All those clucks and squawks mean something, and while some of the meanings of these chicken sounds are obvious – the explosive squawking of a bird running away in panic, for example – others are more subtle.
Here are ten ways in which you can eavesdrop on the chicken chat and brush up on the bantam banter.
Chicken sounds and what they mean
A calm, gently rising borrrrb
This is the chicken sound hens make as they peck their way through the grass or chicken run, and it means two things. It indicates that the chicken is enjoying the endless search for quick snacks, and it’s also telling the other birds ‘everything is fine’. A flock of hens saying borrrb together sends out the reassuring message that there’s nothing to worry about.
The cluck-cum-squawk
This brief, excited cry usually means that there has been some sort of confrontation, usually between a meek hen and a more dominant one who has muscled in to see what snacks the more timid bird has found. The sound is also used if a hen is surprised by something, such as the chicken-run door opening suddenly.
The ‘squawk bomb’
This is when the hen clucks, gobbles and squawks in one hysterical flurry. It sounds as if the bird is about to explode in a cloud of feathers. This is the chicken’s main alarm call, expressing fear and also telling the other birds to run. The causes can be vehicles, dogs, people trying to pick up the hen, or predators.
Cackling
This is the name often used for the familiar Buk-buk-buk-badaaak! call. Repeated several times, and loudly, it is the sound many hens produce after laying an egg. The hen moves away from the egg and then begins cackling. It is thought to be a way of luring potential predators away from the egg and the nest.
Buk-buk-buk (but with no badaaak!)
This slightly angry and persistent sound is often made by a hen who wants to sit in her favourite nest box but finds it occupied. It’s meaning is a combination of “I’m here!” and “Get out!”
Growling
If a hen is broody and doesn’t want to move from her nest box, she will make a hissing, growling sound. This simply means “Don’t touch!” and “Go away!”
Chick-chat
A hen hatching eggs will mutter various gentle clucking sounds to communicate with the chicks and reassure them. Once the chicks are hatched and running around, she tells them where the good scratching and pecking places are by saying tuk-tuk! (Cockerels use this sound too, to tell the hens that they have found a good foraging spot).Mother hens also have an insistent Rrrrrr call, which is the chicks’ cue to come running if the hen senses danger.
Crowing
This is cockerel territory, the classic cock-a-doodle-doo – although some hens get the crowing habit too. Crowing says several things. It means a new day has dawned, and it’s time to be up and scratching/pecking. It also tells the world that this is the cockerel’s territory, and that these hens are his. If there is more than one cockerel, the subordinate ones will only crow when the boss has crowed. Crowing usually hits 90 decibels, or even more!
Help!
A hen separated from the flock will make an alarm call. The sound is similar to the ‘cackling’ that announces a new egg. It is thought to be an SOS call to the cockerel to come and save his lost hen. There will be a strong element of danger if there are predators around, so it’s a risky strategy for a lost chicken.
Buzzing
First thing in the morning, with the chicken coop still locked, the hens will begin to make repetitive, buzzing clucks, which may rise in volume as the minutes pass and the doors remain shut. This sound simply means “Let us out – there’s lots of pecking and scratching to be done!”
With this knowledge of chicken chit-chat, you will be able to tell what your girls are talking about, even if you can’t actually see them. It’s an all-day, non-stop conversation!
A flock of chickens can easily give the impression of peace and equality, but they don’t start out that way. There’s a “pecking order” among chickens that is established early on and can be challenged and even changed from time to time. Every flock of chickens, whether it consists of two birds or 200, has a pecking order. This natural hierarchy determines the top and bottom-ranking hens. Understanding the pecking order in chickens will help you make decisions about housing, how to set up the run, and look out for potential trouble.
What is a pecking order in chickens?
Adherence to a pecking order is a natural behaviour in chickens and doesn’t usually require human interference. It’s established by the more dominant birds asserting themselves – and the more submissive birds will fall into line. Dominant chickens will usually be first to the feeder and to roost, but will also ensure that the lower ranking members of the flock are taken care of. Much like a monarchy, most high-ranking hens will also see that their subjects are cared for.
Chickens that are raised together from chicks will have already sorted out their pecking order. But, if you’re adding more hens to an existing flock, be prepared to witness the pecking order sort itself out all over again. Each time new members are added to the flock, the pecking order will be challenged.
Interestingly, there is circumstantial evidence that hens’ combs may play a part in the war of the wattles. Hens with large, erect combs tend to be higher in the pecking order than birds with less impressive combs. But, every flock is different, and the pecking order can be challenged and can change at any given time.
Changes in the pecking order
Occasionally, another hen may challenge the top hen for the top place in the pecking order. This is common when new hens are added to a flock, or in established flocks when dominant hens go broody, get older, or become ill. Or, sometimes lower ranking hens will simply test their place among the flock.
Generally, the most aggressive or assertive hens will be at the top of the flock’s pecking order. But, when the situation demands it, dominant hens will have to defend their place at the top. Common behaviour among hens that are working out the pecking order includes:
Squaring off to each other – sometimes with their feathery hackles raised along their necks
Small squabbles of pecking or feather-pulling
A loud commotion of squawking or clucking that lasts a minute or two
Sometimes a chicken seems to rise to the top with very few pecks involved. If a dominant hen is no longer around, the pecking order enters a state of flux, and there may be new outbreaks of feathered fisticuffs before the new order establishes itself.
Occasionally, hens will be overly aggressive or will gang up on a newly added flock member, or one that’s especially timid. Keep an eye out for dangerous behaviour like:
Excessive pecking, to the point of drawing blood or giving another hen bald patches
Keeping lower-ranking hens away from food or water
Pushing lower-ranking hens out of the coop at night
If you notice a hen being bullied, you’ll need to isolate them until they regain their strength. Overly aggressive hens should be kept with other strong-willed hens, and should not be allowed in with a flock of very timid hens. It’s not often that a hen will take advantage of a higher rank, but those that do are very difficult to convince otherwise.
A healthy pecking order
Being top of the pecking order doesn’t mean a hen enforces a reign of terror. Top hens protect the flock by keeping an eye open for danger, lead the flock to new food sources, and signal when it’s time to head to bed. In healthy pecking orders, dominant hens make sure that everyone is in the coop at night and has a place to roost. Make sure your chicken coop has plenty of spacefor everyone to have a comfortable roost at night – a nurturing dominant hen will become stressed if the rest of the flock is in a state of unrest.
If you have a rooster in your flock, they’ll almost always be at the top of the pecking order. Their natural protective instincts is what can make them aggressive (even to their human caretakers), but is also what keeps them in an elevated position in the flock. Sometimes an assertive hen can rank over a more submissive rooster, but this is very uncommon. Keeping with the rule of thumb of no less than 10 hens for each rooster in your flock will help the pecking order and the overall well-being of your hens in balance.
Be sure to give your flock plenty of room outside of the coop as well. A walk in chicken run can be expanded to accommodate growing flocks and can utilize vertical space for hens to work out their differences. Hens will maintain a healthy pecking order on their own, but by keeping their stress low and giving them plenty of space to spread out, you’ll help them keep the peace.
Your flock and Omlet
Just because chickens are self-sufficient in establishing their pecking order doesn’t mean that a little human help isn’t beneficial. By giving them a safe and roomy home like the Eglu Cube chicken coop and a spacious outdoor area with the Walk In chicken run, your flock will be comfortable and safe from external stressors that could upset their natural order. With our ingeniously designed chicken products, your chickens will be able to live their best lives as close to their innate behaviours as possible.
Here’s why the Caddi is the perfect choice for your treat-loving pets…
The Caddi Treat Holder decreases the rate at which your pets will eat their treats. Slower treat release through the gaps in the holder means more satisfaction for longer, and prevents over indulgence.
The Caddi Treat Holder swings around and creates a rewarding, interactive game to keep your pets entertained, which is especially great for rainy days! Your pets will love the stimulating experience of foraging for their treats, and enjoy hours of rewarding fun.
The Caddi allows you to feed your pets treats without having to throw them on the ground. This improves run cleanliness, reduces food waste and prevents pests, as well as being a healthier solution for your pets. Simply hang the Caddi from the roof of your pet’s run with the plastic hook and use the string to adjust the height to suit your pets.
Endless treat opportunities! With the Caddi Treat Holder you can feed a range of fresh greens, fruits and vegetables to your pets, you can use it as a hay rack for rabbits, or fill it with pecker balls for hens. Get creative and reward your pets with exciting new flavours in the Caddi.
You can save 50% on the Caddi Treat Holder until midnight on Monday, just by signing up to the Omlet newsletter. It’s a great deal for you, and an exciting new treat dispenser for your pets! Enter your email address on the Caddi page to claim your discount code.
Now available for just $8.99 if you sign up to the Omlet newsletter!
Terms and conditions This promotion is only valid from 12/08/20 – midnight on 17/08/20. Once you have entered your email address on the website you will receive a unique discount code that can be used at checkout. By entering your email you agree to receive the Omlet Newsletter. You can unsubscribe at any point. This offer is available on single Caddi Treat Holders only. The offer does not apply to Twin Packs or bundles with Omlet Peck Toys or Feldy Chicken Pecker Balls. Offer is limited to 2 Caddi Treat Holders per household. Subject to availability. Omlet ltd. reserves the right to withdraw the offer at any point. Offer cannot be used on delivery, existing discounts or in conjunction with any other offer.
Red mites, or Dermanyssus gallinae, are without a doubt backyard chicken keepers’ worst enemies! They are nocturnal creatures living in cracks and crevices of the coop, and they only come out at night to feed on chicken blood. Most long term chicken keepers will have encountered these parasites, and can confirm that they are more destructive and difficult to get rid of than all other pests combined.
Getting Rid of Red Mites
If you have diagnosed a red mite infestation in your wooden coop, there are a few things you can do to try to get rid of them. Start off by giving your coop a really deep clean. Strip the house down as much as possible to get into all corners, nooks and crannies, and scrub with warm water. You will need to replace any felt or fabric parts and carefully clean perches, feeders and drinkers and other loose objects in the coop. Make sure that you get rid of all bedding that might have been infested.
If you can still see mites crawling out of crevices in the wood when the coop is drying, try hosing the coop and all loose parts down with a pressure washer. Leave to dry for 10-15 minutes and blast it over again to get rid of even more mites. Repeat until there are very few mites emerging after every wash.
Still not completely clear of mites? Time for the anti-mite products. Mix a mite specific concentrate with water using the manufacturer’s guidelines and apply this to the coop. Go heavy on areas where it is likely that the mites are hiding (corners and end of perches are particularly affected areas), but it is important that you treat the whole coop. When the wood is completely dry, apply plenty of red mite powder on your chickens, their bedding and their dust bath before you let them back into the coop.
In warmer weather you will need to re-apply the powder every few days, and it in many cases getting ahead of the mites will mean deep cleaning the coop with detergents on several occasions over a period of two weeks. When it cools down, the mites become dormant and will not feed on your chickens, but they are unfortunately likely to reappear when the temperature rises again.
Preventing Red Mite Infestations
The smooth plastic surfaces of the Eglu chicken coop leaves very little space for the mites to hide. There are no corners or gaps that you won’t be able to reach with a hose or a pressure washer, which means that one deep clean of the Eglu should get rid of all dust, dirt and possible pests.
Because of how easy it is to take your Eglu apart, cleaning is made super easy compared to cleaning a wooden coop. In fact, we’ve even heard of people burning their wooden coops down as a last resort of getting rid of little creatures! With your Omlet Eglu coop however, you can simply unscrew the side panels and remove them to give your chickens’ home a thorough clean. For a complete clean you may also want to disconnect the run as well. What’s more, in the Eglu Cube chicken coop, the rear door panel easily lifts off to give your full access to the inside, where you’ll find everything you and your chickens need. By cleaning your Eglu on a regular basis you prevent red mites from ever becoming a problem for you and your hens, and you won’t have to spend all that time and money cleaning and disinfecting that you would if you had a more traditional coop.
The Eglu chicken coops have over the last 15 years been the solution for a lot of people who have tired of constantly trying to get rid of red mites from their wooden coops. Here are some of the things current Eglu owners have told us about battling red mites:
“I’ve thought about having an Eglu for two years but this summer’s red mite infestation was too much. I hate using chemicals/insecticides around my hens so I took the plunge and I’m really pleased.”Sue
“After having some terrible experiences with mites we decided enough is enough and time to buy a “mite free eglu” as advertised. We have been slightly put off by the price previously but now I wish I had one from the start! I couldn’t rate the omlet eglu cube any higher! What used to take 2 hours to clean and scrub a chicken coop now takes 10 minutes! We have not had any lice infestations since having the cube I absolutely love it and so do our chickens, just wish we had bought one sooner!”Amie
“The most important feature to me is the hygienic, easy clean & wash nature of all the surfaces. I would never buy a wooden house again having struggled with mites which hid in all the joints and gaps of the boards. There is nowhere for the mites to hide on the Eglu and cleaning is quick and easy. I’m certain that there isn’t a better house available for healthy hens.”Neil
Does the thought of mites make you itch? Watch our video about two neighbours having very different chicken keeping experiences, showing some of the struggles that chicken owners with mite-infested coops are faced with:
Watching chickens scratch at the frozen ground or strut through the snow, you might wonder how they manage to keep their feet and legs warm. After all, this is one part of their body with no feathers to keep it cosy (unless you happen to have a feathery-legged breed such as the Cochin, Brahma or Silkie).
Surprisingly, the simple answer to ‘How do they keep their leg warm?’ is ‘They don’t!’. Those skinny, bare legs have scales, which retain heat to a certain extent, but they will still get very cold if the bird stands still for too long.
And that’s the important detail. A chicken keeps its legs warm by moving, and by not keeping all its toes on the ground for too long. These parts of their body lose heat rapidly; but the solution is quite simple.
Perching is the most effective way of retaining heat. A hen hunkers down when roosting, and her legs are tucked into her warm body. If space allows, install a flat perch too. A piece of wood with a 10 cm width will enable the hens to roost without having to grip the perch, which in really cold weather will prevent their toes freezing. (The lucky ones will simply snuggle down in a nesting box, which is the chicken equivalent of a thick quilt!)
But of course, a hungry hen doesn’t want to waste the whole day perching, so even in the coldest spells she will make a lot of contact with the ground.
One-Legged Hens
Like many other birds, chickens often adopt the ‘one leg’ look, tucking one of their limbs up into the warmth of their bellies. This reduces overall heat loss and stops feet and toes from freezing on the icy ground.
An upturned pot, a log, pallet or other slightly elevated space – cleared of snow or ice – will help the hens get the circulation going again, without having to catch their breath on the frozen ground. Like all birds, chickens are warm-blooded, just like us, and their own body heat soon works its magic. Indeed, with an average body temperature of around 41°C, chickens can remain active in the coldest weather.
The leg-warming process is helped by other tricks, too. Fluffing up the feathers retains body heat, by trapping small pockets of air which are then heated up by the bird’s warm body.
Some owners give their hens a supper of corn and grains, which take longer to digest than a standard pellet or other chicken food. Part of the digestion process involves producing heat – a kind of internal hot water bottle!
In general, hens will eat more food in the cold months, as more of their energy is spent keeping warm. Some owners like to supplement the birds’ diets with extra protein or a little suet, to increase their fat levels for the winter. Fat retains heat, and the whole bird benefits – not just the legs (which will remain as thin as ever!)
Help With The Heating
You can help your hens keep their toes cosy by making sure the coop is clean and dry. Clear out any snow dragged in on the birds’ feet, and keep an insulating layer of straw on the floor. You can give the birds extra protection by insulating the coop – although there should still be some ventilation, to allow the gases released from the birds’ droppings to escape.
You can install an automatic door to help keep the living quarters snug. Heaters are also available – but never use anything other than a heater designed specifically for hen houses. It’s also best to use these only if the temperature gets below -5°C, otherwise hens may get used to being cosy all the time, and that could be disastrous if the heater fails and the birds are suddenly exposed. Heat-pampered poultry can die of cold shock.
A coop should be draft-free, but not completely sealed, as ventilation is important for healthy hens. During the day, a sheltered spot in the run or garden will help them take a breather and warm those long-suffering legs.
Chickens are amazingly hardy, and although not exactly warm, their legs will be able to cope with anything the average winter throws at them. As long as they can toast their toes on a nice perch every now and then…
We are all used to the idea of fresh food being clean and chilled, so surely the best method of storing eggs is to wash and refrigerate them?
The answer is ‘no’. With a bit of ‘yes’ thrown in. Although the collective knowledge of chicken keepers is vast, there is still debate about the best way to store eggs.
We’ve gathered the various ends of the argument and summarised them below. Welcome to the debate!
Washed eggs?
Unless the eggs are soiled – which is the result of mud or chicken poo in the hen house, rather than dirt deposited during the actual laying – they do not need washing. A freshly laid egg has a shell covered in a protective ‘bloom’, called the cuticle, and this acts as an antibacterial defence system. If it’s washed off, the protection is washed off too. However, if the eggs are then stored in clean boxes, this won’t be a huge issue.
Eggs with dirty shells should be wiped clean, and it’s a good idea to use these soiled ones first – mainly to keep the egg box or egg-skelter looking pretty!
Chilled eggs?
Some chicken keepers keep their eggs in a refrigerator, while others believe this is unnecessary. So what’s the best advice?
There are two rules of thumb – keep them below 20°C, and keep them away from strong odours, as these may affect the flavour. Other than that, it’s really up to you.
A study was carried out in 2013 by Food Test Laboratories in England, comparing the fate of two batches of supermarket eggs. The eggs were kept for two weeks, half of them in the fridge, and the other half at room temperature.
The eggs were tested for ‘usual suspect’ bacteria such as salmonella and listeria, at the beginning of the experiment and two weeks later. The results demonstrated why there is such divided opinion on the issue, as neither sets of eggs showed any signs of bacterial nasties, inside or out.
It’s the cuticle ‘bloom’ that keeps the eggs fresh and bacteria-free. If you’ve had to wash them, it’s probably a good idea to refrigerate them, as the shells will not be protected. Keep them in boxes on the fridge shelves, rather than in a fitted plastic egg tray in the fridge door (formerly a regular feature in new refrigerators).
Eggs don’t like being shaken, as it causes the egg whites to deteriorate and turn slightly watery. An egg that’s shaken by the constant opening of the fridge door is likely to lose its binding qualities in baking, and will look very sad, flat and watery in the poaching or frying pan. Fridge doors are the warmest part of the appliance too, and the area of the fridge where temperature fluctuates the most, which isn’t ideal for egg storage.
Egg basket or box?
Eggs kept outside the fridge can be stacked in boxes, with the oldest ones in the topmost boxes. This age factor is less easy to sort out if you keep the eggs in a wire basket, although these look great on display. Some chicken owners use colour coding dots, or even dates, to sort the young from the old. If you’re unsure about relative age, you can always use the traditional ageing method: place the eggs in a bowl of water, and watch how they sit. Very fresh ones will lie flat on the bottom, while older ones will have their pointed ends raised. Ones that are way past their use-by date will float.
Another advantage of egg boxes is that you can store the eggs with their rounded ends at the top. This keeps the yolks centred, which makes them look their best if you’re hard- or soft-boiling. However, if most of your eggs end up in cakes and quiches, this isn’t going to be an issue.
An egg skelter is another attractive way of storing the fruits of your hens’ labours. These keep the eggs in age-order, and they look great too.
Storing shelled eggs?
Any leftover raw egg can be stored in the fridge in an airtight container. It should be used within three days. Stored yolks should be covered in water to prevent them drying out. The water can be poured away before use.
Uneaten cooked eggs (i.e. hard-boiled) will always leave an ‘eggy’ whiff in the fridge. This is caused by hydrogen sulphide, a gas that forms when eggs are cooked (you’ll notice it’s never present in raw eggs). Although not exactly pleasant, the gas is harmless. Eggs stored in this way should be eaten within one week.
So, the main takeaway here is that eggs can be stored wherever you want them to be stored. As long as you keep them away from heat, strong odours and too much shaking, you’ve got the storage conundrum cracked!
In winter, one of the biggest concerns we see from our customers is: “how well is the Eglu going to keep my chickens warm?”. In this blog, we explain the science behind the Eglu’s carefully designed features, which ensure your chickens are kept nice and toasty in the colder months.
Insulation
Air is an amazing thermal insulator. Heat is conducted between an area of more heat to an area of less heat. The warmer molecules vibrate rapidly and collide with others, passing on energy. If the material the heat (in this case the body heat from the chickens inside the coop) is trying to pass through has few molecules in it then it will be harder for the heat to transfer through it. This is the case with air, and that is why it’s commonly used as an insulator in everything from walls and windows to cooking utensils and drinking flasks – and chicken coops! The Eglus’ unique twin wall system captures air in a pocket between the inner and outer wall, taking full advantage of air’s great insulating properties. This solution stops the cold air from moving into the coop, and retains the warm air in the coop. The same process also keeps the chickens cool in summer by stopping the warm air from entering the coop and making it too warm.
Ventilation
Perhaps even more important than the coop’s insulating properties, is how well ventilated it is. If the coop doesn’t have good ventilation, you run the risk of either having a nasty draft if the coop has badly positioned vents or large holes and openings, or a build up of moisture if the coop is too tightly insulated. Both will prevent the chickens from staying warm on chilly winter nights, and can cause unpleasant respiratory illnesses.
The Eglu coops are designed to let air flow through the coop, but without creating an uncomfortable draft for the chickens. The vents are positioned in such a way that your pets won’t notice the fresh air flowing through the coop, but the warm air evaporating from the animals and their droppings will move through the vents and prevent any moisture.
How chickens keep themselves warm
Chickens, like many other non-migrating birds, have a layer of downy feathers under their visible plumage that they can fluff up to create air pockets close to their bodies. This will retain the heat, and will keep them warm during winter.
Chickens also have a high metabolic rate that will speed up even more during winter, helping to keep their bodies warm. This is why you might have to feed your chickens a little extra during the winter months.
Chickens are also able to decrease the blood flow to their bare legs to minimise loss of body heat. The overlapping scales on their feet and legs trap some warm air, so walking on snow and ice rarely causes chickens any discomfort. When roosting in the cold, the feet and legs are tucked in under the warm feather blanket, and the chicken might also tuck its head under a wing to get some extra body heat.
We often get asked which is the best cover for an Eglu run to keep pets comfortable all year round. Read our simple guide below so you know how to help your pets in all weathers!
Summer Shades
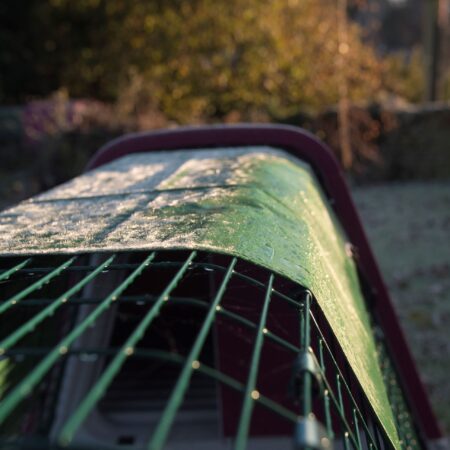
These shades are a thinner cover material which offers protection from the sun, without creating a tunnel where heat can build up inside the run. These are smaller than the winter covers to allow better airflow through the run for ventilation. Move the summer shade around the run to suit the time of day and your hens’ routine. You may wish to change this for a Clear or Combi Cover in summer when there’s rain on the way!
Clear Covers
The Clear Covers allow for sunlight to flood your pet’s run, while also offering protection from rain. This makes them ideal for spring and autumn, so the run is light and warm with sun, but also protected from unpredictable wind and rain.
Combi Covers
Get the best of both worlds, with shade from the sun on one side and light coming in the other, as well as full wind and rain protection on both sides. The Combi Covers are half dark green, heavy duty cover for extreme wind and rain protection, and half clear cover to let in sunlight and warmth and to let your pets see when you are bringing them treats!
Heavy Duty Covers
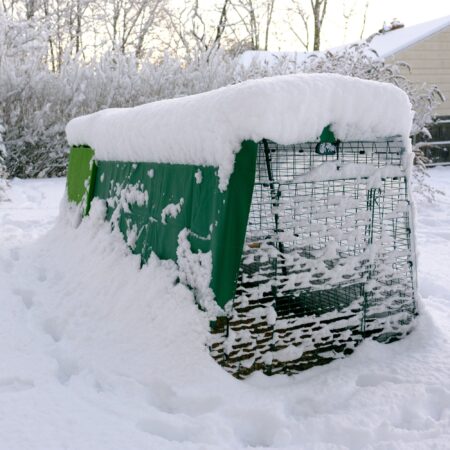
For strong, hard-wearing protection against the worst of winter choose heavy duty covers. Even when the temperature drops to single figures, the rain and wind batters your pets home, or a deluge of snow covers your garden, the dark green, impenetrable heavy duty covers offer sturdy weather protection. Your chickens or rabbits will be able to hop around the Eglu run in complete peace, without getting cold, damp or wind-swept!
Extreme Temperature Covers
Chickens and rabbits are very efficient at keeping themselves warm in cold weather, and the Eglu’s twin wall insulation will assist them by keeping cool air out and warm air in, but when temperatures plummet below freezing for multiple days in a row, they may appreciate a little extra support. The Extreme Temperature Blankets and Jackets add another insulating layer, like your favourite wooly jumper, without compromising the ventilation points around the coop.
Chicken manure is one of the best soil improvers out there. Once composted, it’s rich in nitrogen, phosphorus and potassium – the holy trinity for healthier soil, stronger plants and bigger, tastier crops. It also boosts water retention, which means happier plants during dry spells.
Top tip: Compost droppings for up to a year before using. Fresh manure is powerful stuff – think slow release, not instant results.
Free-range pest control
All day long, chickens scratch and peck their way through the garden hunting for snacks. Beetles, grubs, caterpillars, ticks – gone. Some particularly bold hens will even take on slugs. Leghorns, Hamburgs and Light Sussexes are breeds with very strong foraging tendencies, so would be the best at tackling slugs. Slugs are most active in the early morning and evening, and if you water the garden first they’re more likely to emerge. This combination would be the opportune moment to let the flock out for pest control patrol.
It’s bug and pest control without chemicals, sprays or guilt. Just busy beaks and very satisfied chickens.
Feathered rotavators
Turning over soil? Starting a new bed? Let the professionals handle it. Chickens are experts at loosening, aerating and mixing soil.
Scatter a little chicken feed where you want them to work, or drop a pile of leaves onto a resting bed. They’ll scratch, spread and turn it over faster than you can find the shed key.
Weeds, beware
Chickens love munching weeds and clearing dead plant matter, saving you time and effort. Think of them as enthusiastic, if slightly chaotic, garden assistants.
That said, they can’t differentiate between weeds and flowers, so they don’t understand the emotional value of your prize dahlias…
What to protect from chickens:
Seedlings and newly planted beds
Veg patches and flower borders
Soft fruit and tender leaves
Use sturdy Chicken Fencing to give your flock access only to areas you’re happy for them to “redecorate”.
Free plant fuel
Those fresh eggs aren’t just great scrambled on toast – the shells are good for your garden too. Eggshells are rich in calcium carbonate, which helps strengthen plant cell walls and supports healthy growth.
Crush the shells and sprinkle them onto your compost heap or directly into garden beds.
Garden therapy
Chickens give you an excuse to get outside, slow down and enjoy your space. Their gentle chatter, curious personalities and daily routines make the garden feel calmer and more alive. Plenty of keepers say spending time with chickens helps reduce stress – and we 100% agree.
Seasonal swap outs
Get your chickens helping all year round…
Spring
Clear winter debris and turn resting beds
Pest patrol just as bugs start to wake up
Summer
Ongoing slug and insect control
Eggshells back into beds for calcium-hungry plants
Autumn
Leaf litter spreading and soil prep
Compost boosting before winter
Winter
Clearing fallen leaves and light debris
Natural enrichment while the garden rests
So what’s stopping you? Chickens aren’t just lovely pets – they’re hardworking garden helpers too, so why not make the most of them?
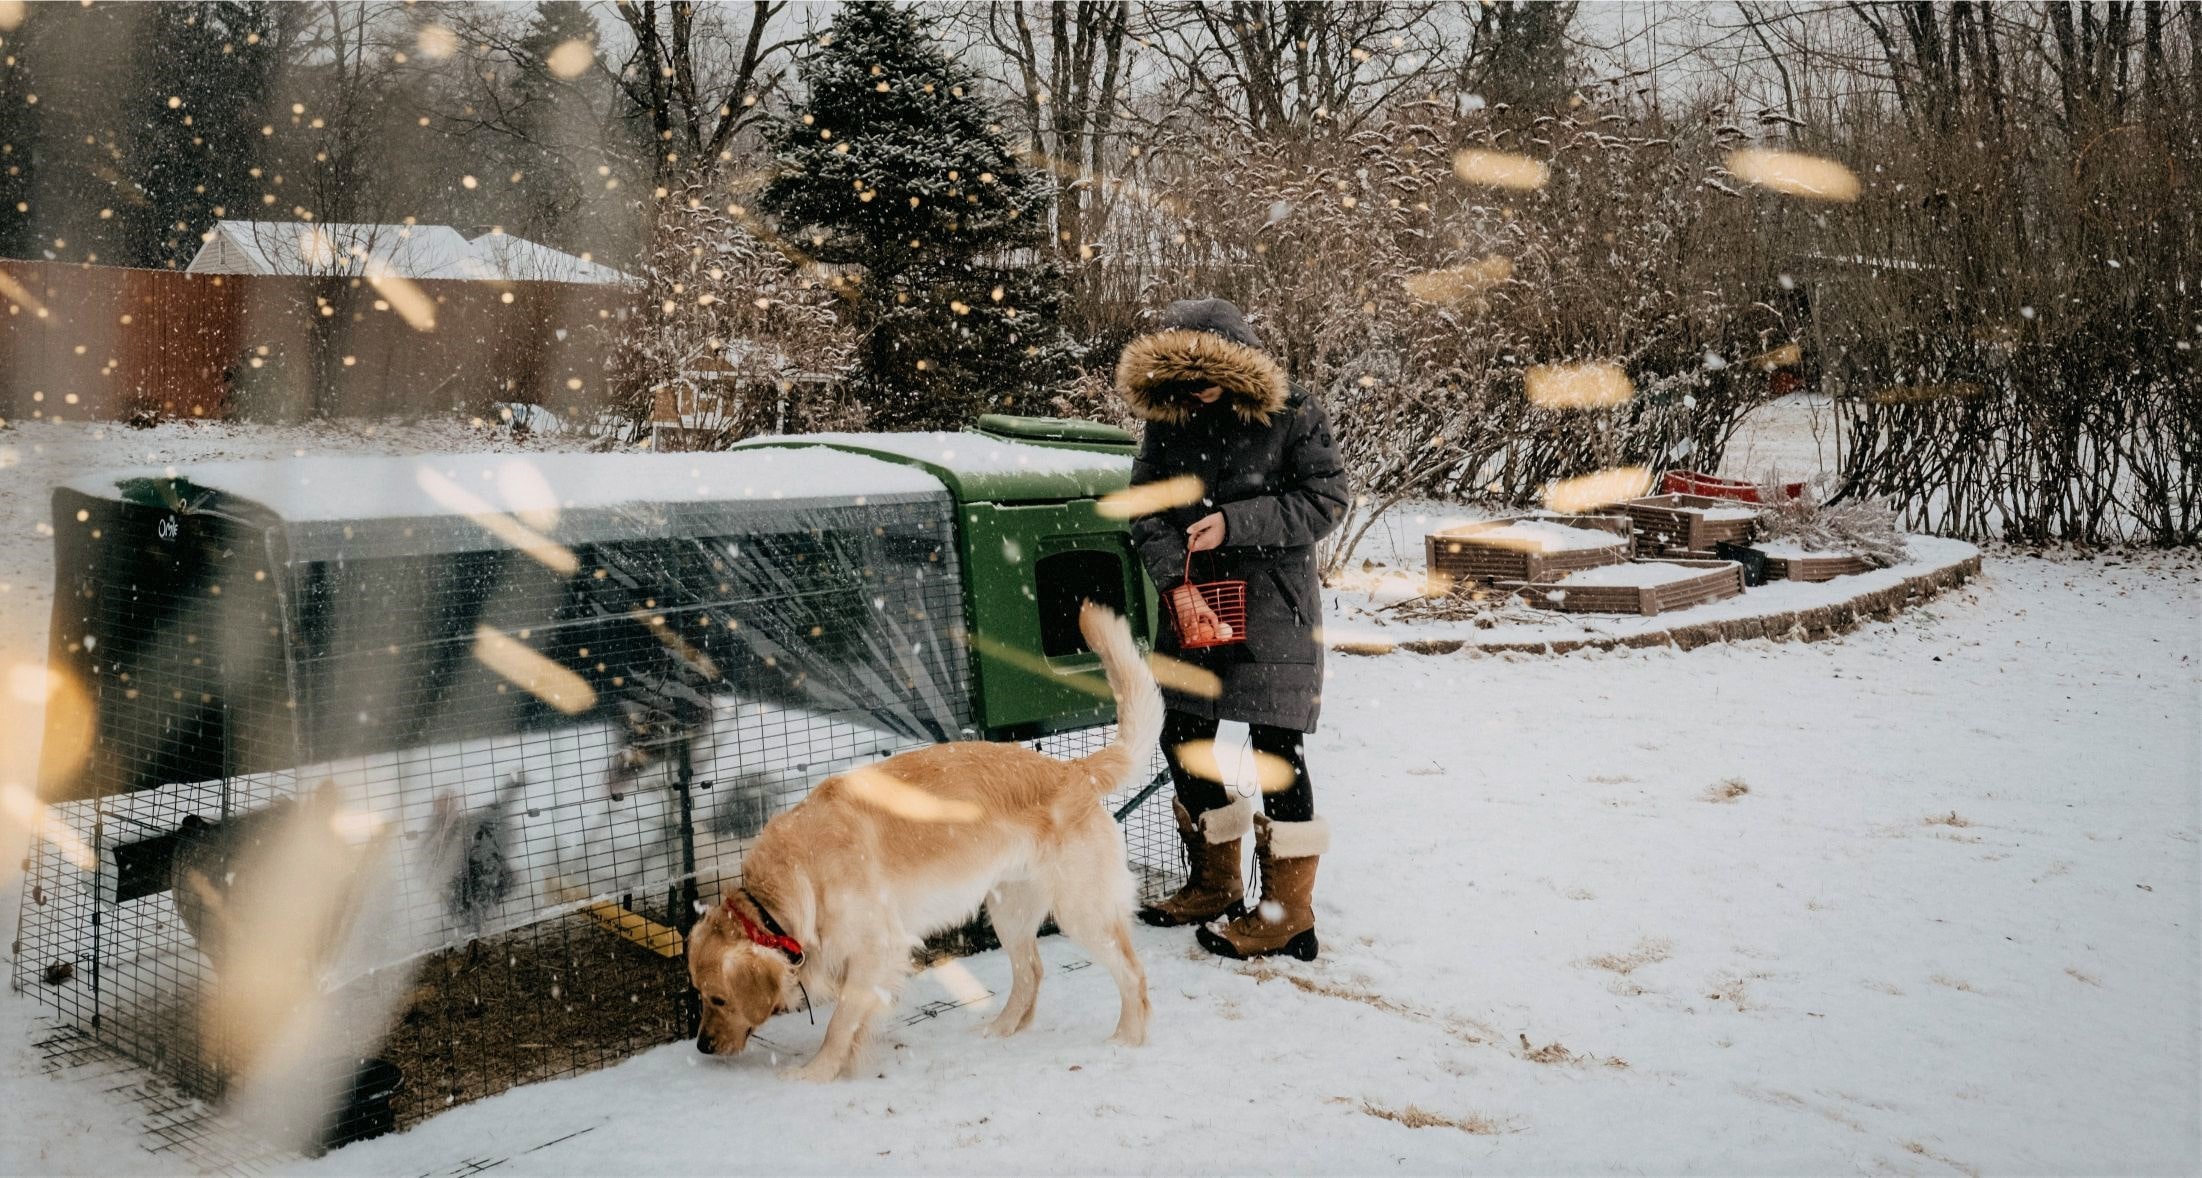
Snowy weather can bring great fun for all the family, but when it comes to our pets we need to take extra care to keep them happy and healthy (even if they love it!) Take a look at our snow safety advice, and make sure you’re prepared for whatever winter may bring…
Dry off damp fur and feathers
Check on your outdoor pets a few times throughout the day during periods of snowy weather and check they haven’t got too wet. Damp fur and feathers will take longer to dry during colder temperatures, making it difficult for them to warm up again. Indoor animals should also be dried off with a towel after being outside or going for a walk.
Clean paws of ice
For dogs and cats in particular, snow can get compacted into their paw pads and turn to painful cubes of ice. Use a towel or drying mitt to dislodge any chunks of snow and dry off their feet. Also take care when walking your dogs in snow, as salt used to grit the roads can be poisonous. Watch that they don’t stop to eat snow at the roadside and clean their legs and paws of any snow or dirt after their walk.
Extra food
Pets of all kinds will use more energy to keep themselves warm in winter, particularly in super cold, snowy spells, so they will benefit from some extra food. Although they will appreciate more treats, don’t be tempted to overfeed on these. Something nutritious will help them the most.
Extra bedding
Outdoor pets will need more dry bedding in their coop or hutch for them to snuggle into and keep warm. However, make sure their home is still well ventilated to keep fresh air moving through and prevent health problems. Read other ways you can get your coop winter-ready. Indoor animals might also appreciate an extra blanket or a cosy den for bedtime.
Potential risks
If you have a cat who still likes to go outdoors whatever the weather, be wary of the potential of antifreeze poisoning. Look out for symptoms such as vomiting, seizures or difficulty breathing and call a vet immediately if you think your cat may be ill. An outdoor enclosure could also provide a solution for letting them play outside in safety.
Don’t forget about the wild birds in your garden!
Place a wide bowl or tray of water in your garden with something inside to float around (e.g. rubber duck!) to keep the water moving and prevent freezing. Extra wild bird food will also be appreciated!
Winter brings unique challenges for chicken keeping, and avoiding common pitfalls can help keep your flock healthy and thriving. In this guide, we’ll discuss the 10 things to avoid as a winter chicken keeper, helping you navigate the season with confidence and care. From managing coop conditions to understanding your hens’ needs, these insights will ensure you’re prepared for the cold months ahead.
What to avoid this winter
Knowing what to avoid is as important as knowing the right things to do when caring for your chickens. Preparing for winter is a necessary task when tending to your flock, but there are some things that may be overlooked or misunderstood about winter chicken-keeping. Here’s what not to do this season.
Don’t coop your chickens up
Chickens are built to be outside, and they’re known for withstanding cold temperatures. In fact, a hens’ normal temperature runs around 105°F, so enduring the cold is much easier for them than the heat. And, underneath a chicken’s shiny plumage lies dense, downy feathers to insulate them — courtesy of your flock’s annual moult that takes place in the fall.
While it may be tempting to keep your chickens fully enclosed in their coop, they’ll quickly become bored and agitated. Instead of keeping a lock and key on their coop, open their coop door after the sun has been up for a couple of hours to help warm their environment, or program your Smart Autodoor to open at a specified time. Invest in chicken run covers to prevent snow and ice from accumulating, and offer plenty of chicken perches to help warm their feet up off of the frozen ground. With these provisions in place, your flock will be well supported outside of their coop.
Don’t make their coop airtight
Another common mistake chicken keepers make is trying to seal their chicken coops. Your flock needs fresh air to circulate throughout their coop to prevent moisture buildup and respiratory illness. Insulated chicken coops keep the harsh elements out while still allowing for the right amount of air circulation to prevent these issues.
Drafts are a valid concern in the winter, but well-designed ventilation will not allow for cold drafts to permeate the coop. Even with extreme temperature chicken coop jackets, Omlet’s Eglu Chicken Coops allow just the right amount of fresh air to circulate without creating dangerous drafts. Now that’s a breath of fresh air for winter chicken-keeping.
Don’t offer supplemental heat
Chickens are hardy and will adapt to the lower temperatures as they gradually decline. If their coop is heated, they will miss out on this natural process, and will be shocked — quite literally — if they stride out into freezing temperatures from a balmy coop. This sudden, extreme change in temperature can cause a chicken to go into shock and can result in the death of your flock.
Heat sources are also a fire hazard, and should not be used without being closely supervised. Brooder plates, heat lamps, or heating pads are appropriate for sick flock members or young chicks, but should be used only in dire situations for healthy hens. Extra insulating bedding like straw or hay can be added to nesting boxes and roosting areas to provide additional warmth in lieu of electric heat sources.
Don’t leave eggs in the coop
While it may be easy to remember to gather eggs in the dog days of summer before they spoil, it’s important to gather eggs quickly when the temperatures reach freezing. Eggs shouldn’t be left in the coop for more than a couple of hours if the temperatures are below freezing. A frozen egg isn’t ruined, but the contents will expand the longer it’s allowed to freeze, which will crack the shell. Once the shell is compromised, bacteria can enter the egg freely, making it inedible.
Get into the habit of looking for and collecting eggs each time you visit the coop. This is a good rule in any season, but especially during periods of extreme temperatures.
Don’t forget their water
Chicken waterers can quickly turn to popsicles when the temperatures reach freezing. You’ll need to break the ice in a very literal way throughout the day for your flock to maintain their water source. Pouring warm water over frozen waterers can also thaw them, or consider using electric bird bath heaters or other types of submersible heaters in their waterers. Be sure to keep cords and components out of your flock’s reach.
Putting a floating object in their water like a tennis ball can also help prevent ice from forming. The constant movement will break up the ice formation so it won’t be able to freeze solid. This has mixed results based on the size of the object, amount of wind, and other factors, but it’s a safe method to experiment with.
Don’t put off cleaning the coop
Before the temperatures plummet, give your chicken coop a deep clean. This will allow you to use a pressure washer without the threat of ice one last time before the freeze sets in. Refresh the bedding with thick, warm bedding like shavings or straw, and check to make sure runs covers are adjusted and secure.
Once it’s impractical to clean with water, you can keep your coop clean with a rag or stiff bristled brush. Empty the droppings trays as usual, and brush off any debris from their roosting and nesting areas. Keeping your chickens’ coop fresh and clean will promote good respiratory health over the winter.
Don’t limit their fun
Your chickens may not venture as far from their coop as before, largely because of the lack of insects or vegetation to pique their interest. If your property becomes covered with snow or ice, it can put an even bigger damper on their fun. To combat this potential for boredom, make sure your hens have plenty to do to occupy their days.
Chicken perches, peck toys, treat holders, or a Chicken Swing are all elements that transform winter days from dull to delightful. Use them in their run, or out in their freeranging space to create pockets of fun in an otherwise frozen world. It’ll cheer your heart along with your hens.
Don’t go easy on the feed
Your chickens will be hungrier during the winter months. The increased demand for body heat requires their already-fast metabolisms to work harder. With these larger appetites, you can expect to fill their chicken feeders more often.
Your flock will also appreciate extra treats and nutrition during this time. Add dried mealworms or soldier fly larvae to their scratch grains, offer alfalfa hay, or make them a warm chicken mash to help satisfy their cravings.
Don’t forget combs and wattles
Any chickens can fall victim to frostbite, but hens with large combs and wattles are especially at risk. Signs of frostbite on a chicken’s comb or wattles include:
Pale or white appearance
Black spots or sections
Mishapen edges
Petroleum jelly applied to these parts will help prevent frostbite from forming. Frostbite isn’t deadly to chickens, but it is uncomfortable, and once the areas have become discolored, they’ll likely fall off, leaving hens with misshapen combs or wattles.
Don’t forget chicken self-care
Sunbathing and chicken dust baths are favorite pastimes for hens in the warmer months, but when given the opportunity, your flock will enjoy this indulgence during the winter. Dust baths will help keep your hens’ feathers in good condition, keeping them fit for the task of keeping them warm. Clear run covers allow warm sun to permeate through to your flock, creating spots of warmth without the brisk chill of the wind.
Omlet and your flock
Prepare your flock for the winter with our products, designed with you and your hens in mind. Our chicken coops, run covers, and smart automatic chicken coop doors make winter chicken-keeping a breeze — not a harsh, freezing gale. This winter, work smarter, not harder, when you choose Omlet’s chicken products to support you and your flock throughout the season.
Most hens lay their eggs with minimum fuss. They might make a bit of noise to announce their egg-laying achievement but will soon return to the daily business of exploring and scratching for food. Some hens, however, do make a bit more fuss. To be more accurate, these hens are known as broody. A broody hen is one who sits on her egg with every intention of staying there until it has hatched – no matter whether the egg is fertilised or not. This is very useful if you want to hatch some chicks, but otherwise, it can be a problem. So then, how do you stop a hen from being broody?
The cause of broodiness
The cause of broodiness is linked to body heat, backed up by maternal instincts. Hens who are cooped up together in a hot henhouse may suddenly heat up to a level that makes them think “I’m going to hatch an egg!”. Certain chicken breeds seem more susceptible to broodiness than others, with the Silkies and Cochins being particularly moody-broody.
Signs of broodiness
A broody hen undergoes a personality change. The most obvious sign of this is her refusal to leave the nesting box. She’ll sit there with the air of a bird who will happily wait until Doomsday for the egg to hatch. This misplaced dedication will also make her grumpy and liable to peck or cluck angrily if you try to move her.
When you do manage to oust her from the box, she’ll simply head back there again and resume her brooding. Once she feels established in her new maternal role, she will fluff out her feathers and may begin to self-pluck her chest feathers to line the nest.
How to stop a hen from being broody
Time to get moving
Appearances can be misleading. Your hen may look as though she’ll sit in the box for eternity, but in reality, she’ll only stay there – usually – for three weeks. This is the length of time it takes a chicken egg to hatch. This means, if space allows, you can simply let her brood for 21 days, and once the mood lifts, she’ll return to business as usual. But, if you don’t have a cockerel and don’t want to rear your own chicks, this can be frustrating and you’ll want to break your hen from her broodiness.
You also need to make sure your hen gets enough food and drink during this time, which can be difficult for a hen who doesn’t want to leave their nesting box. This may involve forcibly removing her from the box and shutting it off until she has taken refreshments. Be sure to collect any eggs immediately when you do get the opportunity and be sure to always wear sturdy gloves as a precaution when attempting to move any broody hen. This will prevent your hands from getting pecked!
Try frozen veg
A common anti-broody trick is to place a packet of frozen peas or sweetcorn kernels wrapped in a blanket or tea towel underneath the hen in the nest box. Crushed ice cubes in a bag will do the trick, too. This has the dual impact of cooling the chicken down and making life in the nest box too uncomfortable for brooding.
Nest box obstacle course
Sometimes a simple obstacle such as a plant pot or a couple of bricks will have the desired effect. If the hen can’t access the nest box, she can’t sit there and brood. Fortunately, the Eglu Cube chicken coop has a central divider with a sliding door, which means you’re simply able to close the nest area off from the rest of the coop.
Set up a broody enclosure
Some chicken keepers use a so-called “broody enclosure” to break the habit. This is a wire cage or crate, in which the chicken is placed along with food and water. After three days, this gentle form of solitary confinement will usually break the broody habit. The signs that the brood mood is over are obvious – the hen will stop fluffing out her feathers and will stalk around the cage, rather than sitting and brooding.
Fancy chicks?
Then again, you could purchase some fertilised eggs and let the broody hen resume as she was. If you do want chicks, this is by far the easiest, and most natural way of producing them – under the fluffy belly of a broody hen.
Omlet and your hens
At Omlet, we design products that help find solutions to all your pet questions, like what’s the best coop for a broody hen? With unique products like the Omlet Eglu Cube chicken coop and Walk In Chicken Runs, our expert designers strive to continue creating the best environments for all pets – feathered or furry.
Roosting high up in trees comes natural to chickens, as that is one of the safest places to rest if you’re a chicken in the wild. And doing so on gently moving, or even swinging, branches makes you an even more difficult target for predators. So instinctively your birds should be happy to jump straight up on their Chicken Swing!
With that being said, chickens are vulnerable and clever creatures, which means that they can be wary of new things. They don’t like being the first to try something, so if you’ve got your flock a new toy and are disappointed they don’t seem particularly interested in it, you might have to help them take the leap!
Setting Up The Chicken Swing
The Chicken Swing is cleverly designed to make it as easy as possible for chickens of all ages to use it. The base of the swing has a texture resembling a corncob, which makes it more grippable than a smooth plastic surface.
Make sure you place the swing free from any obstructions such as walls, mesh or other things on the run. Choose a sheltered spot under cover so the hens can do their swinging no matter the weather!
Eventually you ideally want the Chicken Swing to sit above the chickens’ heads, so that they will be able to swing without the risk of bumping into one of their friends. It’s no problem for a chicken to jump up a few feet, but to make it as easy as possible in the beginning, start with the swing close to the ground. The Chicken Swing is lightweight enough that if it were to hit one of your hens, it won’t hurt them.
You won’t need to train all your chickens to get on the swing. They are flock animals, so if you get one of them to show the others how it’s done, there’s a high chance the others will follow shortly!
Letting your chickens have a go
So choose your most adventurous chicken and place her on the swing, which at this stage should be hanging very low to the ground. Give her something delicious straight away, so that she associates the swing with yummy treats. Do this a few times until you feel she’s comfortable perching on the swing. At this point, push the swing slightly to get it moving. Reward the chicken every time she swings towards you. Push a bit more every time you’re trying, and start lifting the Chicken Swing higher and higher above the ground.
If the chicken at any point seems stressed or anxious, stop the training, let her down and go back to basics. It’s important that she only has good feelings associated with the swing!
It’s not guaranteed that all chickens will warm to the swing, it’s just a fact you have to accept. Young chickens are in general more likely to take risks and learn new things, but personality plays a big part, so you’re not automatically going to succeed just because you’re introducing the swing to chicks. However most chicken will, after some persuasion, absolutely love swinging, and it’s worth a bit of work when you see your girls queueing up for their go!
Here at Omlet we often receive calls from aspiring chicken keepers who are seeking chicken keeping advice before getting their first birds. Some of the most popular questions we get asked are, what should I feed my chicken with or how can I protect my chickens from predators? One question that keeps coming up is, do I need to shut the Eglu door at night?
Often people ask us this question because the idea of adding another task to their daily routine might be one of the reasons which puts them off chicken keeping. Much like you wouldn’t like to sleep with your front door open, unfortunately for chicken keepers, nor do your chickens, therefore most nights we would recommend you close the chicken coop door.
But having to close the door doesn’t necessarily mean that it would need to be done by the chicken keeper themselves! Have you ever thought about automatic door system? Well luckily for chicken keepers, Omlet has recently launched a new Autodoor which will solve all of these problems.
As important as it is to close the door to protect your hens from the cold, it is also important to do it to protect them from potential overnight predator attacks. Most predators would wait for the night to attack your chickens therefore by simply closing the door it would protect your flock from being attacked by predators such as racoons, foxes and coyotes.
Having said how important it is to close your chicken coop overnight we understand that not everyone has the luxury of being at home every night to close the coop door especially for people working late shifts that are often home well after the sun sets. That is why we recently launched an automatic chicken coop door that can be attached directly to any wooden chicken coop, wire or the Omlet Eglu Cube Mk1 and Mk2.
Much like a personal chicken coop concierge, the Autodoor will always make sure your chicken’s coop is securely closed at night even when you’re running late. Whether you decide to use the light or time mode, the Omlet secure and safe Autodoor will either open and close at dawn and dusk or at specific times that you have programmed it to. In addition to being designed to be used in different modes the Autodoor has a unique safety sensor detecting any blockages to prevent your chickens from being injured when they decide to stop half way through the door.
Benefits of the Omlet Automatic Chicken Coop Door:
Easy to install, no maintenance required
Operated by light sensor or timer
Powered by battery
Works with all wooden chicken coops
Improves coop security and insulation
Compatible with the Eglu Cube
Reliable in all weather conditions
Built-in safety sensors
Can be used with any chicken run or mesh
To summarise, closing the coop door is definitely the recommended action for every chicken keeper in order to protect their chickens from the cold and predators however this task can easily be completed by an Autodoor. Check out the review below to see what one of our Autodoor owners thinks of this new product:
“Thank you Omlet for a wonderful product and great service. The door arrived quickly, very well packaged and my concerns over fitting it were unfounded as I was able to complete the task completely unaided. The door is easy to operate and means my girls are safely tucked up at dusk and I do not have to get up ridiculously early to open the coop and stop them hollering!” – Wendy
Most chicken keepers limit their attentions to hens and eggs. Roosters – or cockerels, as they are sometimes called (and definitely not to be confused with roasters!) – are simply not on their tick list. After all, roosters are territorial, keen to defend their flock of hens, and famously noisy first thing in the morning.
But they are also beautiful birds, and if you intend hatching your own chicken eggs, your hens will certainly need the attentions of a rooster.
There are several cockadoodle-dos and cockadoodle-don’ts to consider if you are thinking of adding a rooster to your flock.
First, the good stuff
Cockerels look fantastic as they swagger across their territory. Their huge combs and wattles quiver like jelly, their pointy rear-end feathers and ‘mane’ of spiky neck feathers are wonderfully showy, and their posture suggests someone who has just strutted onto the dancefloor to show off some amazing moves.
But it’s not all about beauty. Roosters always have an eye out for danger, and will fight off any intruder they think they can tackle. The bird is not silly enough to attack dogs or cats, but it will make it clear to them that they are not welcome, through body language and alarm calls. This gives the hens time to flee for shelter, and the rooster will beat the retreat too, if things start to look too dangerous.
A rooster will add harmony to a hen flock, making sure none of his birds are bullied, and keeping everything in order, a bit like a hands-off, benign sheepdog.
If you want to hatch chicks, hiring the services of a rooster is the only way forward. Fertilised eggs are still edible, as long as you collect the eggs on a daily basis. Any fertilised egg taken away from the warmth of a broody hen will not develop into a chick.
And the downsides?
If you live in a town or village, noise might be an issue with the neighbours. In many places in the USA, roosters are banned for this reason. However, if your bylaws don’t place an outright ban on male chickens, you’ll have the law on your side. But what about those irate neighbours?
The irony is that people who keep roosters – and many others besides – love the sound of early morning cock-crow. I raise my hand, as the author of this post, and admit to loving the sound of a rooster at daybreak – and I live in a village with half a dozen cockerels battling it out first thing in the morning. It’s a much better sound than car engines and slamming doors as people prepare for the working day. If people can live with the sound of road, rail and air traffic, surely they can get used to the wonderful sound of a full-throated rooster?
Sadly not, in many cases, and a crowing cockerel can be the subject of arguments and recriminations. So, so if you have nearby neighbours, it’s an issue you can’t ignore. Start off by speaking to everyone who live near enough that they will hear a cockerel crowing in the morning and see how they feel about the idea. You never know, they might be really excited about the prospect of a new alarm clock!
There are ways to keep roosters quiet before everyone has got out of bed. Some people swear by anti-crow collars, Velcro strips that restrict airflow to the rooster’s voice box. They don’t hurt the birds or affect their breathing, but they transform the noisy COCK-A-DOODLE-DO! into a much quieter clucking sound. If you have a large rooster you may also be helped by a coop with a low roof. Roosters must stretch their neck to crow, and if the coop roof is not high enough to allow him to stretch the neck fully, he will have to wait until you let him out.
With that being said though it’s worth noting that roosters naturally crow, and if you (or your neighbours) can’t stand being woken up at the crack of dawn, you might be better off sticking to hens.
The rooster is not just a chicken version of a sheepdog, he’s a guard dog too. At the sight of any intruder, he’ll let you know. This is just the kind of vigilance you’d expect from a bird once declared to be the messenger of the sun god. And that’s a lovely image – he’s not crowing to annoy anyone, he’s crowing to announce the arrival of the life-giving sun. Who could say no to that?
If you keep chickens, you already know what a happy, healthy hen looks like. If anything changes, it’s a sign that all is not well in the henhouse.
The commonest problems are not due to diseases or parasites, but stress. If the henhouse is overcrowded, dirty, or too hot, or if the birds are feeling harassed, they will become stressed. The symptoms include egg-eating, aggression to their neighbours, loose droppings, lethargy, and a sudden interruption to their egg-laying.
The cause should be obvious enough, once you stop to look. Too many birds in one house? No shelter from direct sunlight? No room to exercise? Nothing but wet mud? These things can be sorted out by rearranging the hens’ environment, extending the run, and getting a bigger hen coop. Check the hens’ diet, too – are you feeding them a good, fortified chicken feed, supplemented with some corn
? Poor nutrition is a gateway to other health issues, as it weakens the birds’ immune systems.
Infectious Bronchitis – The Commonest Chicken Disease
There are many diseases that can afflict chickens, but thankfully most of them are uncommon. Anecdotal evidence shows that Infectious Bronchitis is the one that small-scale backyard hen keepers are most likely to encounter.
Hens suffering from this ailment will have a quiet, rasping, wheezing cough, sneeze or snore. The first signs of the problem are usually a loss of interest in food. As the disease takes hold, the hen will develop a ‘runny nose’, with discharge from the nostrils and eyes.
The bronchitis is caused by an airborne virus, and the best remedy is vaccination of the flock. Any infected birds should be isolated and kept somewhere dry and warm, making sure they eat and drink well. Some will die, but most pull through.
Note: the symptoms described here are also associated with other diseases, including Infectious Sinusitis, Newcastle Disease, and the deadly Aspergillosis, Pullorum and Bird Flu. The Omlet Chicken Guide has more details.
Bumblefoot – The Commonest Chicken Injury
A leg or foot wound that becomes infected can result in Bumblefoot. The wound will not always be obvious, but the biggest clue is a limp, or the tendency to stand for a long time on one leg while the other hens are scratching and pecking for food.
After a few days, the limb will swell, at which point you need to act fast. Taking the bird to a vet is the best bet, as the wound will need thoroughly cleaning, and minor surgery may be involved if the problem is severe. Untreated hens can die.
Not all limps are the result of Bumblefoot, though. Hens sometimes land awkwardly after the chicken version of flying. Broken toes and legs are quite common too, and these will require a splint. But if there is no visible surface wound, Bumblefoot is unlikely to set in.
So, look out for the limp – that’s your first clue that all is not well.
Common Chicken Mites
Chicken parasites are common, but not usually life-threatening. The commonest ones are the mites, of which there are several species.
Red Mite, or Chicken Mite – These nasties hide away in the henhouse, in corners, under perches and elsewhere. Anti-mite powders and liquids can be applied to the coop, and keeping things super-clean at all times will discourage the tiny red bloodsuckers.
Northern Fowl Mite – these are a bit bigger than red mites, and live on the birds rather than just dropping in for a quick bite. Remedies are available, and need to be applied to the bird itself.
Scaly Leg Mite – This variety causes a hen’s legs to become rough, sore and weepy. Antibacterial scaly-leg treatments are the only way to tackle the problem; although rubbing in a little Vaseline can ease the discomfort.
Depluming Mite – This variety burrows into the feather shafts, causing swelling and producing a discharge on which the mites feed. The hens will then begin plucking their own feathers to relieve the discomfort. The mites spread quickly, so the whole flock and henhouse will need treating.
Quick action is the best way of tackling these ailments. Each morning, carry out a quick visual health check. Any of the following should be taken as a warning sign:
Dirty or messy feathers
Hunched-up posture
Lethargy
Evidence of parasites
Unhealthy-looking poo
Sneezing, wheezing, coughing
No appetite
No eggs
If you have cause for concern, check out Omlet’s chicken health guide, and call the vet for advice.
Cold weather can be a worry for chicken keepers but there are ways to prepare your chicken coop for winter. Preparations such as:
Moving you coop closer to your house
Upgrading to a plastic coop
Installing an automatic chicken coop door
Adding a chicken run cover
Adding an extreme temperature jacket
Get your chickens’ coop ready for the colder months and you will be able to rest easy knowing that your girls are warm and healthy throughout winter.
Take a look at some of our top tips for getting your chicken coop winter-ready.
Move your coop closer to the house
Moving your chicken coop closer to the house is a simple step for making it easier for you to look after your girls and give them their daily health checks, which are even more important in the colder months. Choose a lightweight coop with wheels, like the Eglu, to make it even easier to move it around your garden.
Upgrade your wooden coop to a plastic coop
Upgrading your wooden chicken coop to a plastic coop has many benefits. The main benefit to a plastic Eglu Cube Chicken Coop for chicken keepers in winter is the twin wall insulation found in the design of the plastic house. This works in a similar way to double glazing, by creating a barrier between the cold air outside the coop, and the air in side. The air between the two walls conducts poorly, which means inside the house stays at a consistent and warm temperature throughout winter, whatever the weather is doing outside. Chickens are very efficient at keeping themselves warm, all you will need to do is make sure the coop door is shut at night time.
Install an automatic chicken coop door
Installing an Automatic Chicken Coop Door is a convenient solution for a plastic or wooden chicken coops. You can set the Autodoor to close at a specific time or light percentage to suit when all your girls have gone up to bed and the sun has set. The Autodoor runs off batteries and has been tested to work down to -10 degrees Celcius so there is no worry, however cold it gets outside!
The other benefit to the Autodoor is that it will open again at dawn so you can head off to work early before the sun rises and your girls need to be let out, or you can stay in bed for even longer at the weekends without going out in the freezing cold to let your chickens out of their coop!
The NEW Coop Light also makes it easier for you to check on your girls and carry out daily chicken keeping duties if you don’t get home until after dark. This plugs directly into your Autodoor control panel, and can even be programmed to automatically turn on 5 minutes before your Autodoor closes to encourage your chickens up to the coop.
“The nights are drawing in and I couldn’t be happier knowing that my girls are safely tucked up in bed with their Omlet Autodoor closed behind them. The Autodoor has given me peace of mind, flexibility and a well needed lie in! Couldn’t recommend it enough!” – Hayley’s Lottie Haven
Add a chicken run cover
When the temperature drops below freezing for multiple days in a row during the very depths of winter, it might be wise to give your chickens extra warmth with an extreme temperature jacket. Filled with a heat trapping recycled material that is breathable, the jackets keep your pets warm and protected from the worst that the weather can throw at them. Preparing your chicken coop for the winter will definitely benefit poorly or older chickens.
Add an extreme weather temperature jacket
When the temperature drops below freezing for multiple days in a row during the very depths of winter, it might be wise to give your chickens extra warmth with an extreme temperature jacket. Filled with a heat trapping recycled material that is breathable, the jackets keep your pets warm and protected from the worst that the weather can throw at them. Preparing your chicken coop for the winter will definitely benefit poorly or older chickens.
Prevent chickens getting bored when rain stops play with a variety of fun and interactive toys they can play with in all weathers. The Chicken Perch provides an easy outdoor perch which can be installed in their run (and protected by the run covers) for when your chickens can’t perch in their usual spots around your yard. The Chicken Swing provides hours of fun and again, can be easily installed in any run. While the Peck Toys and Caddi Treat Holder offer enriching entertainment as well as a rewarding flow of treats.
Water Heaters & Chicken Treats
Prevent your chickens’ water from freezing with a water heater to ensure they have access to flowing water at all times. It is also recommended to provide extra layers pellets and treats during winter, as chickens will need more energy to keep themselves warm and lay their eggs in the colder months.
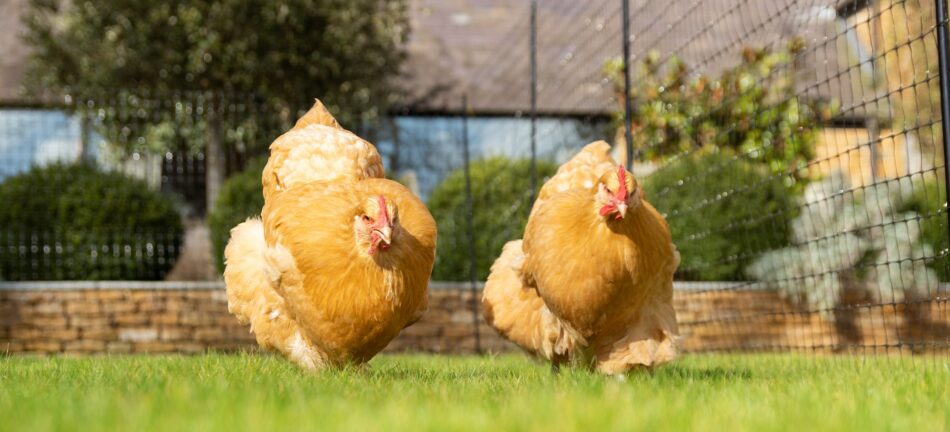
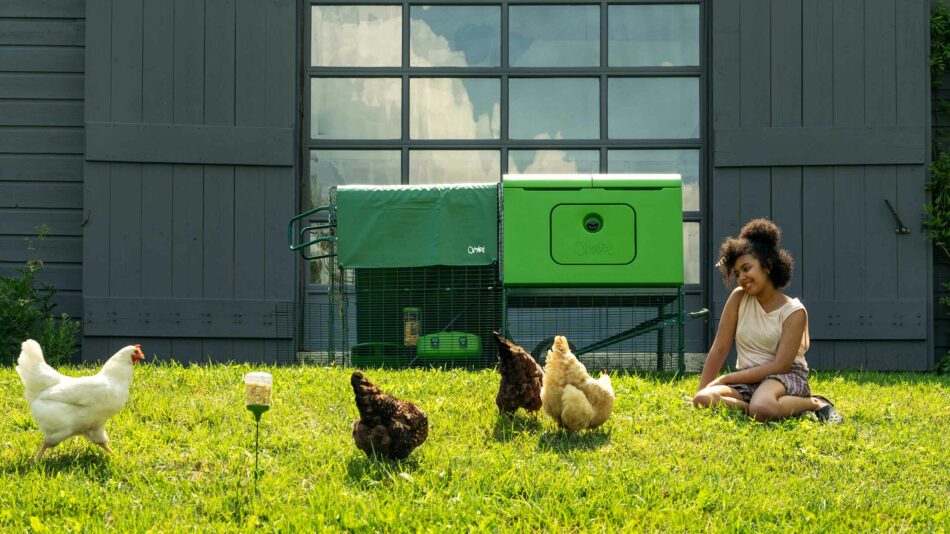

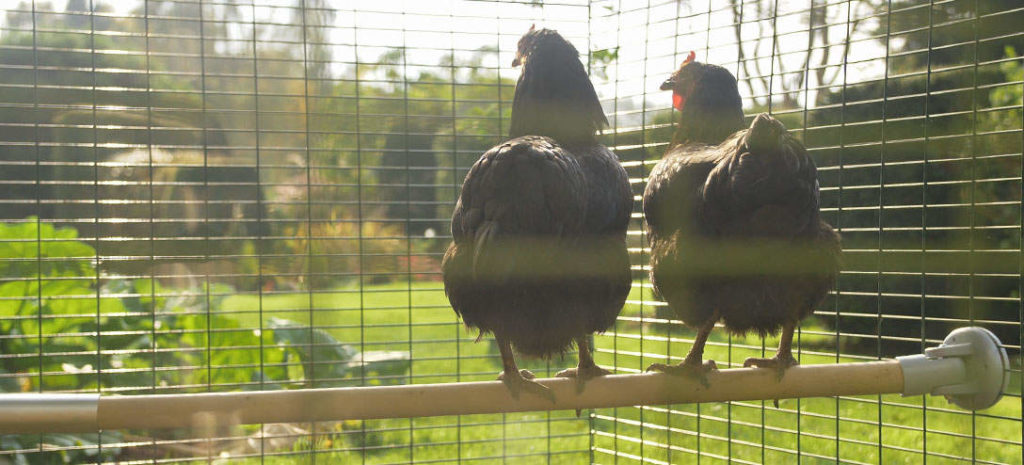

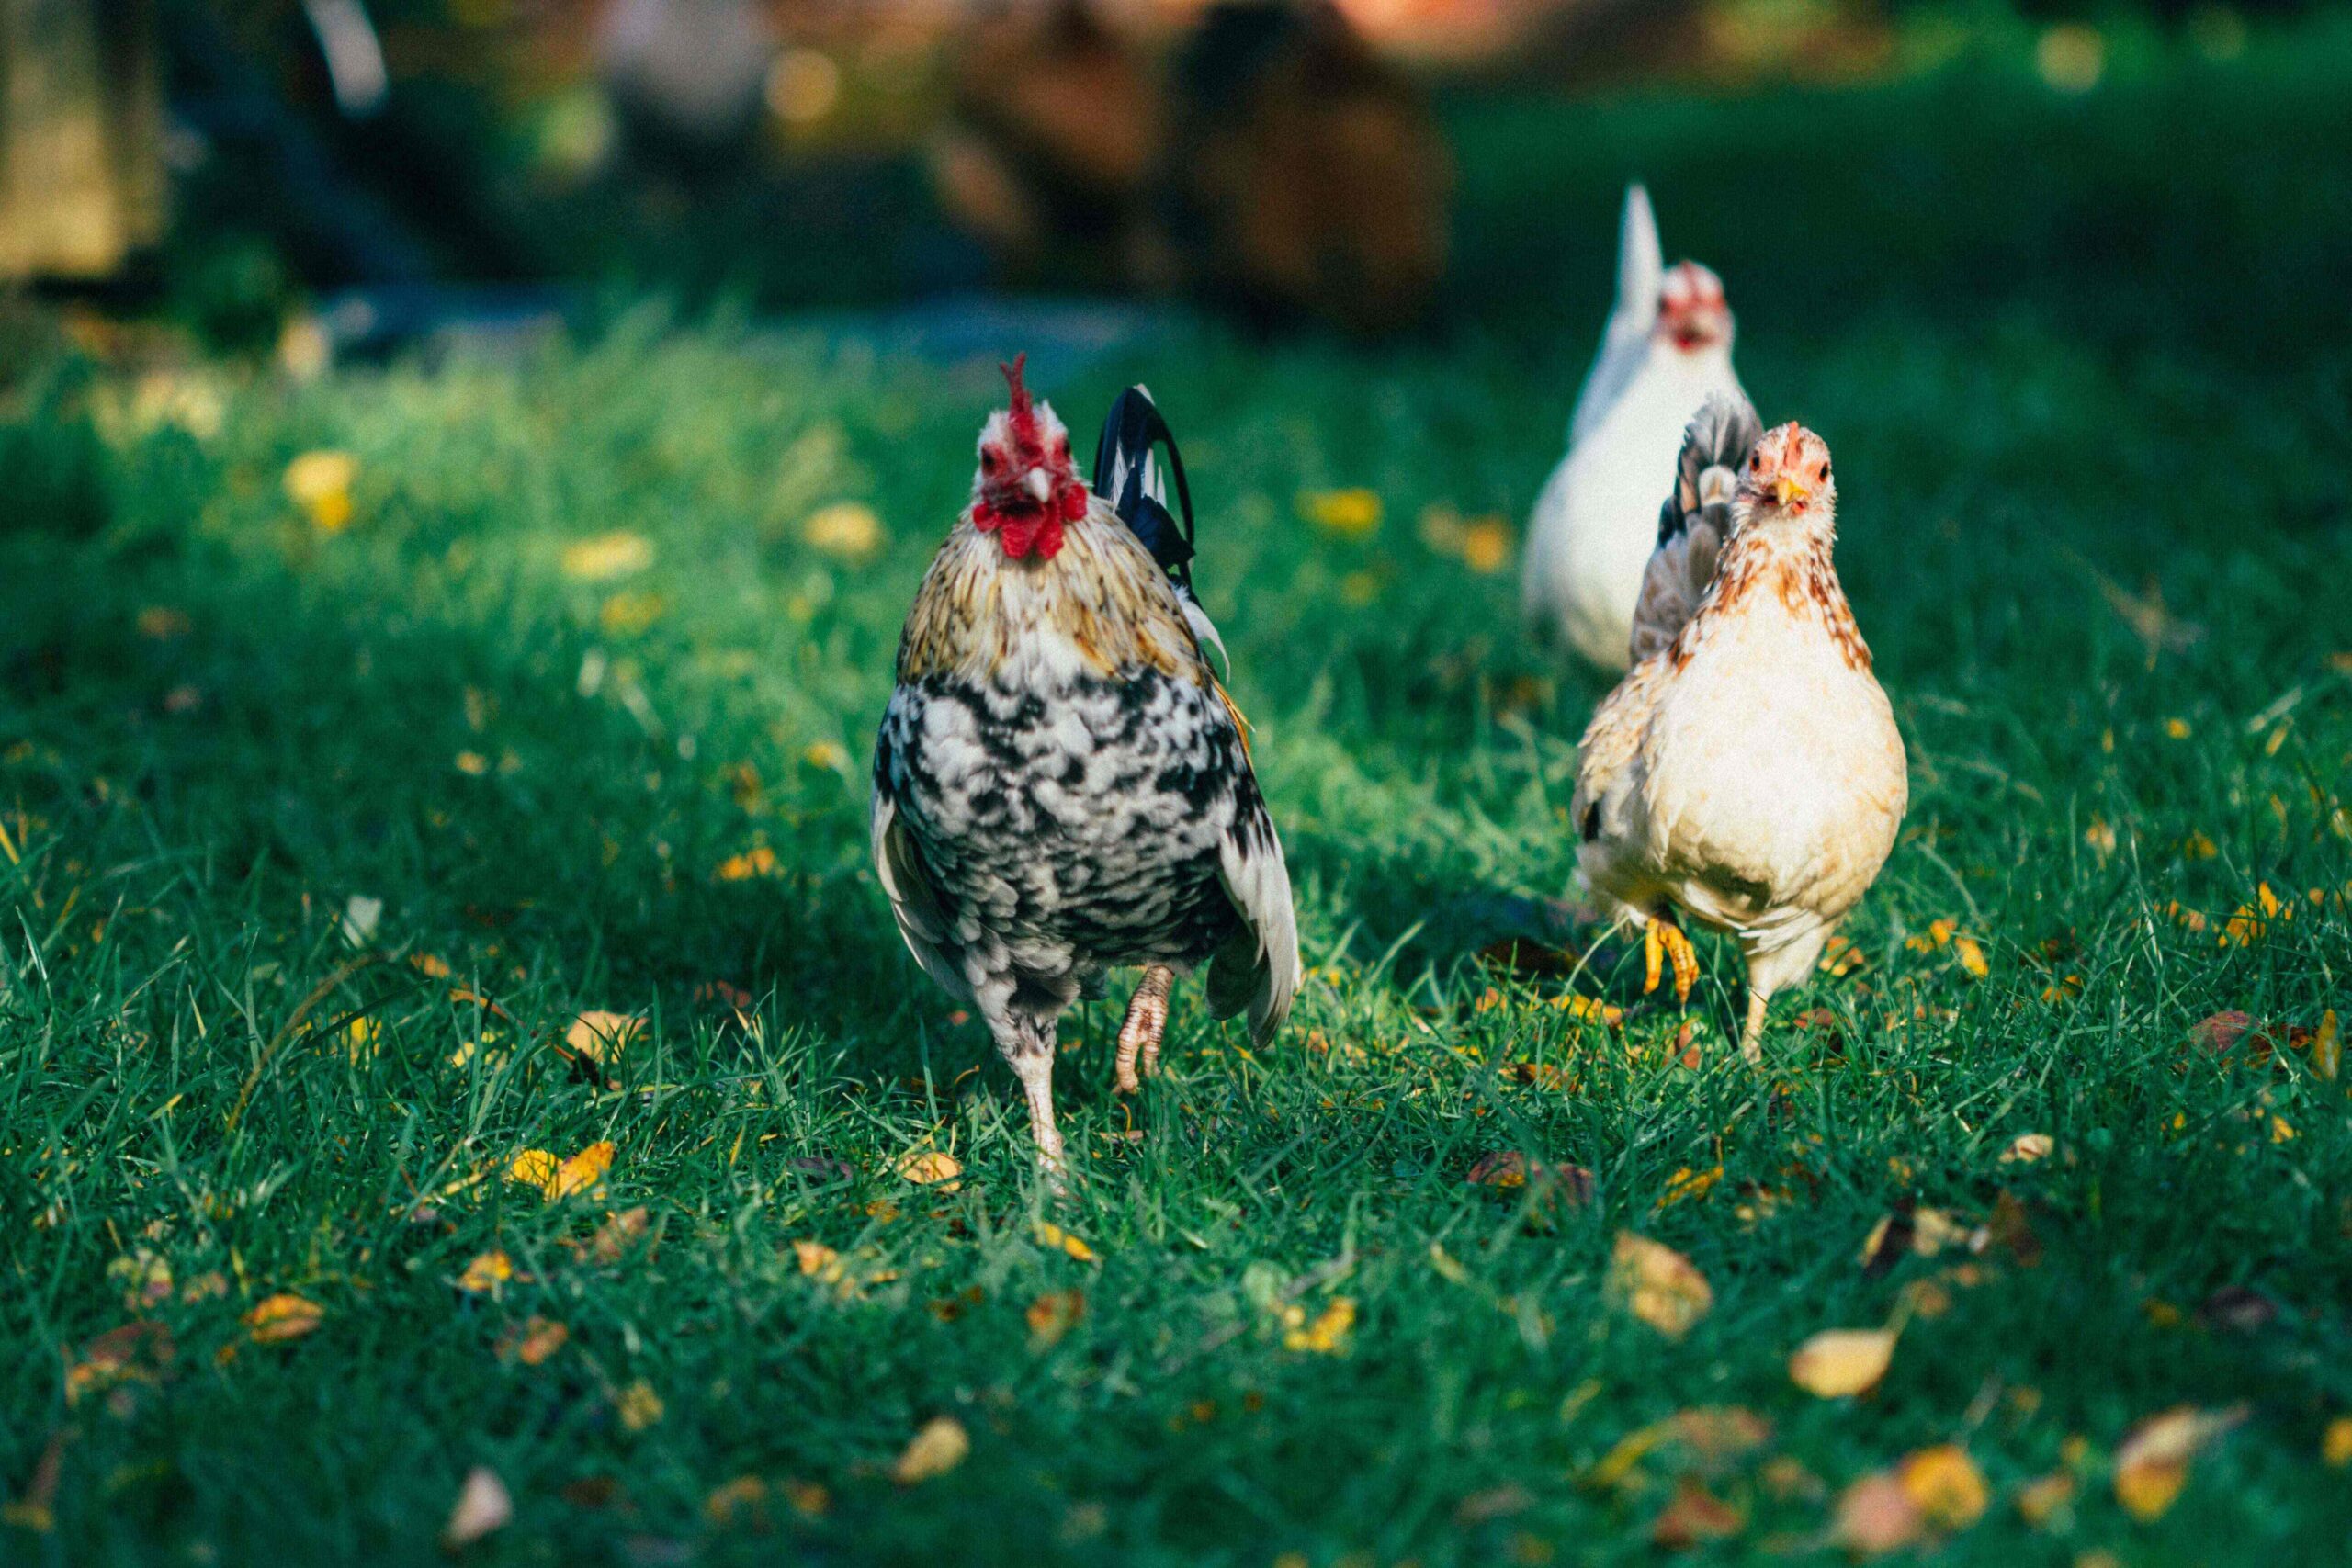
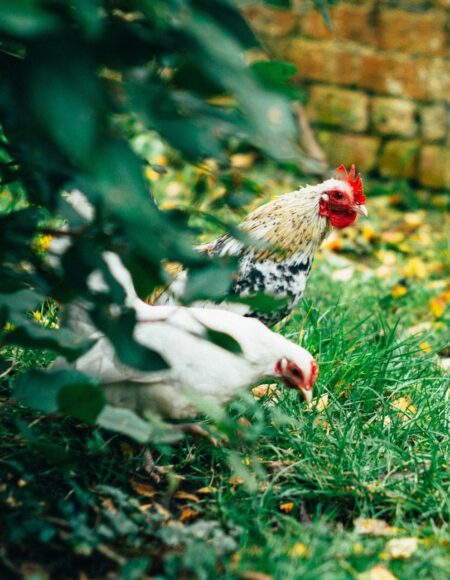
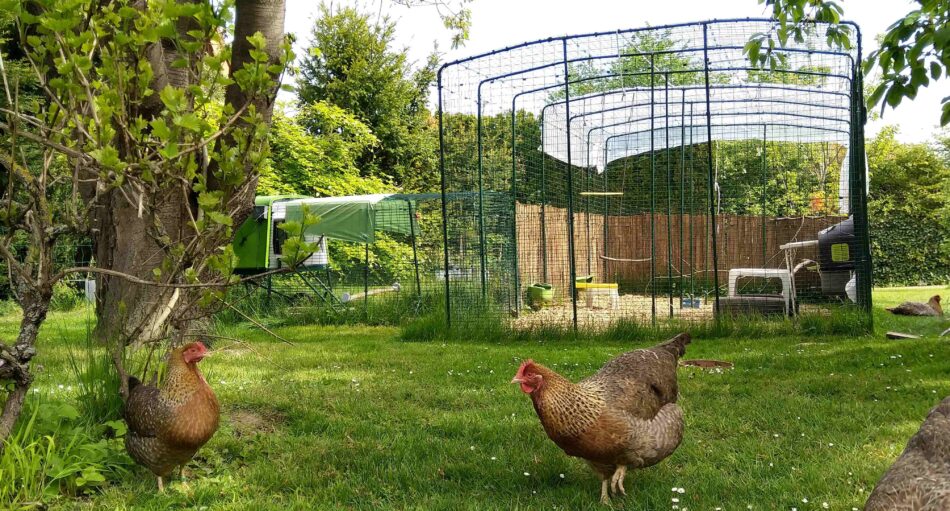
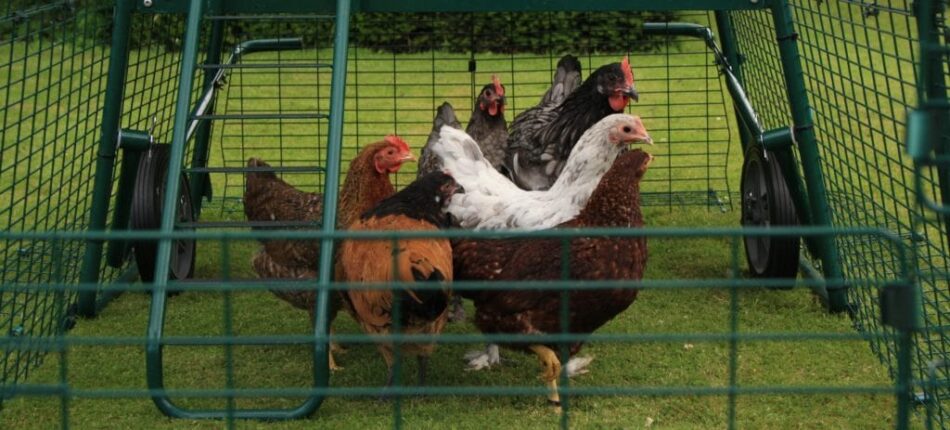
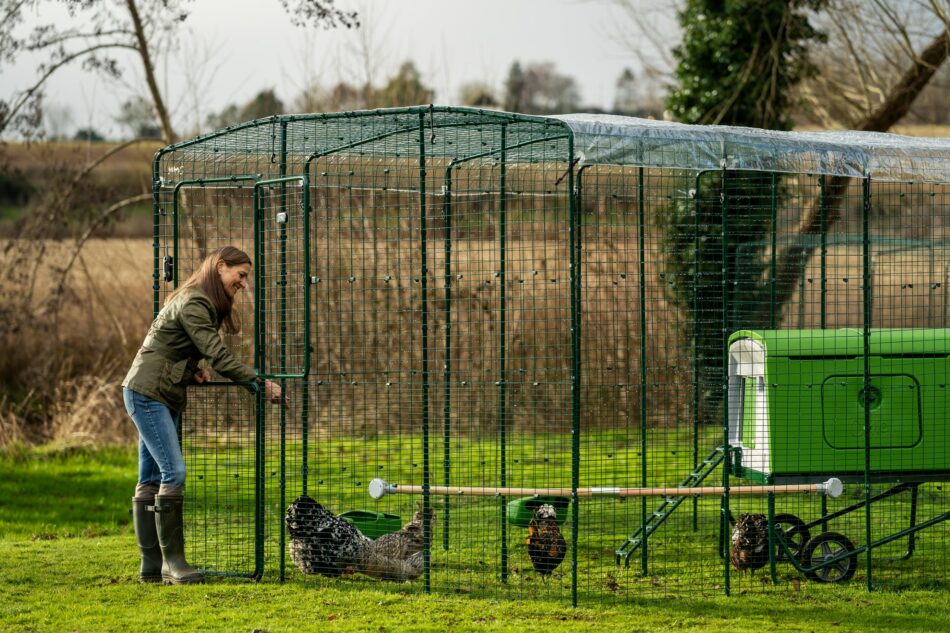
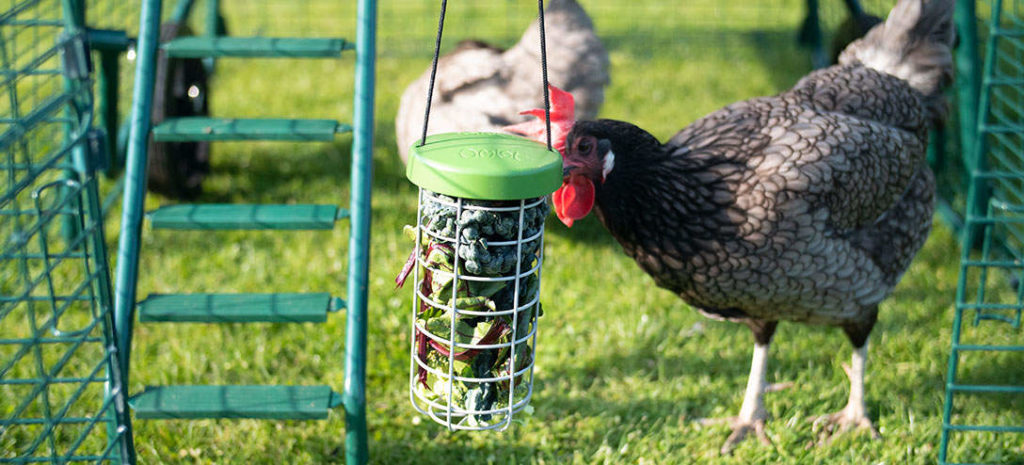

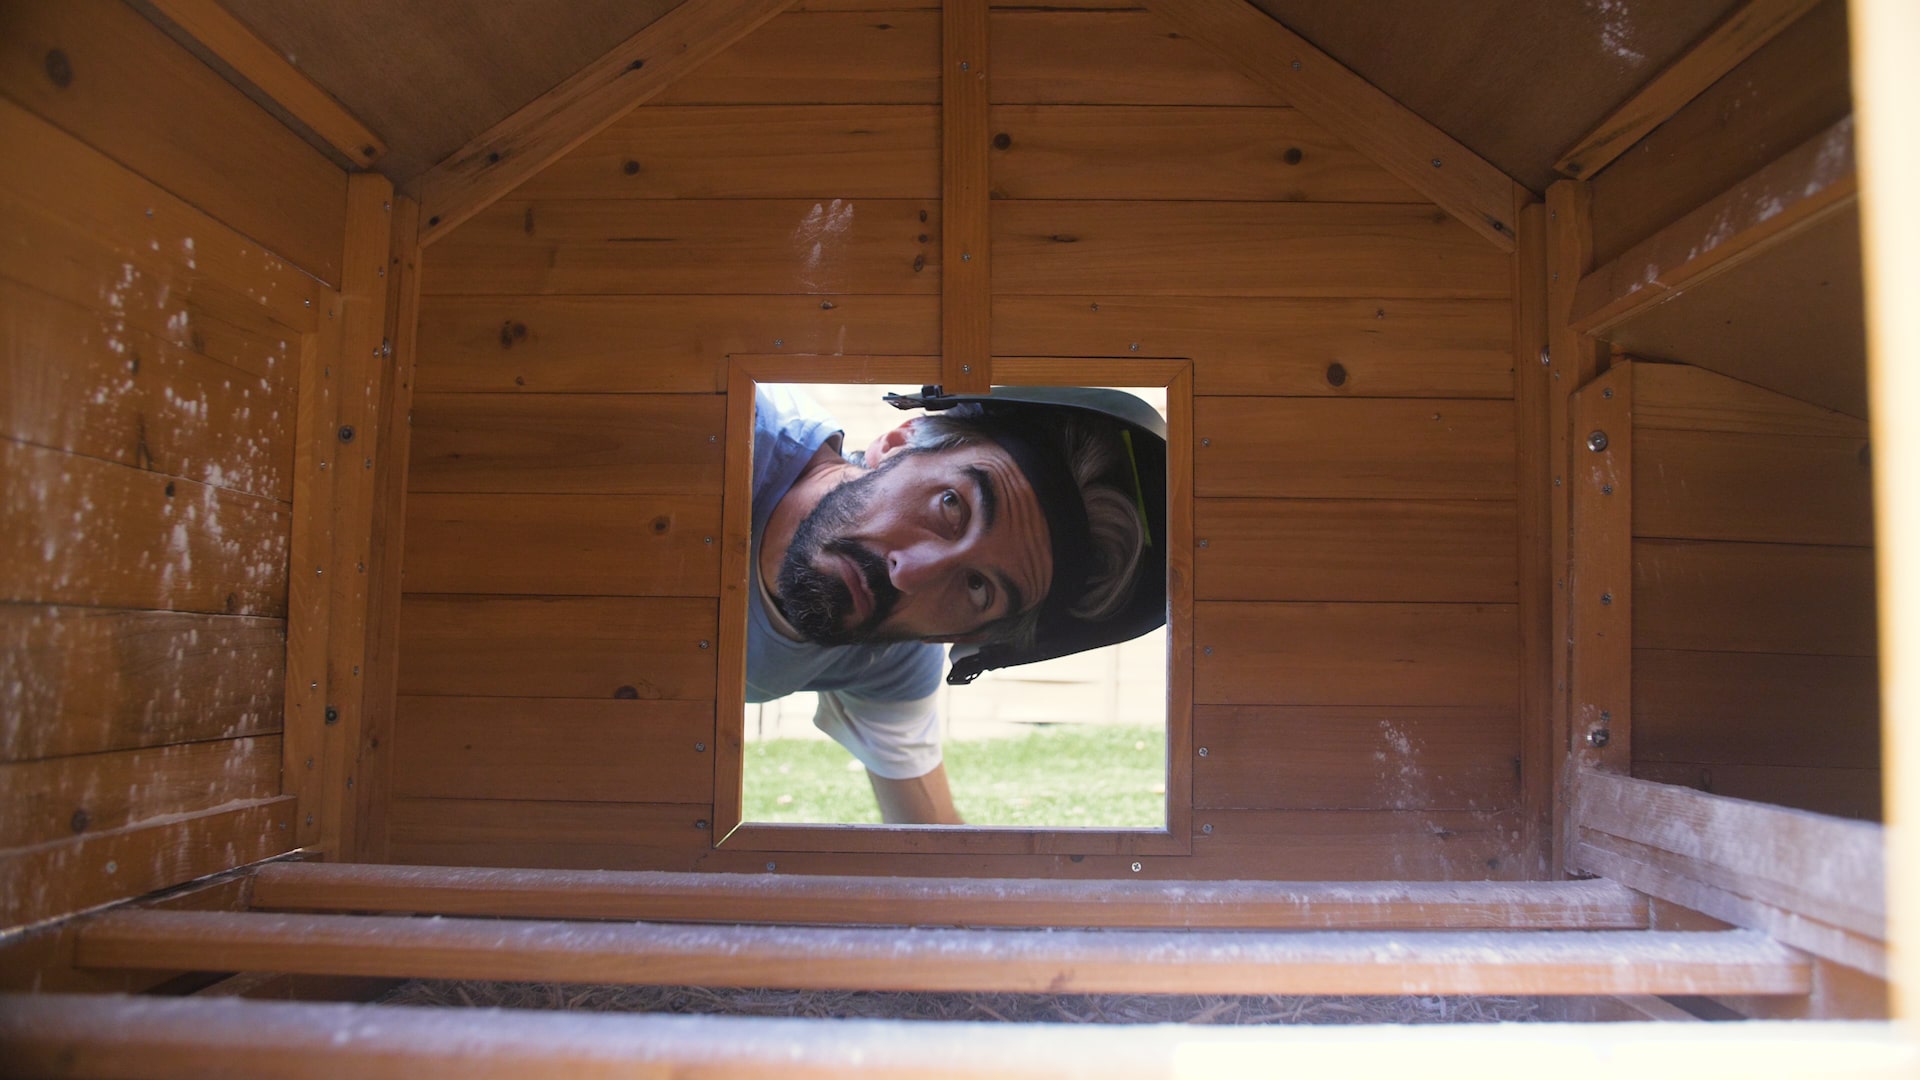
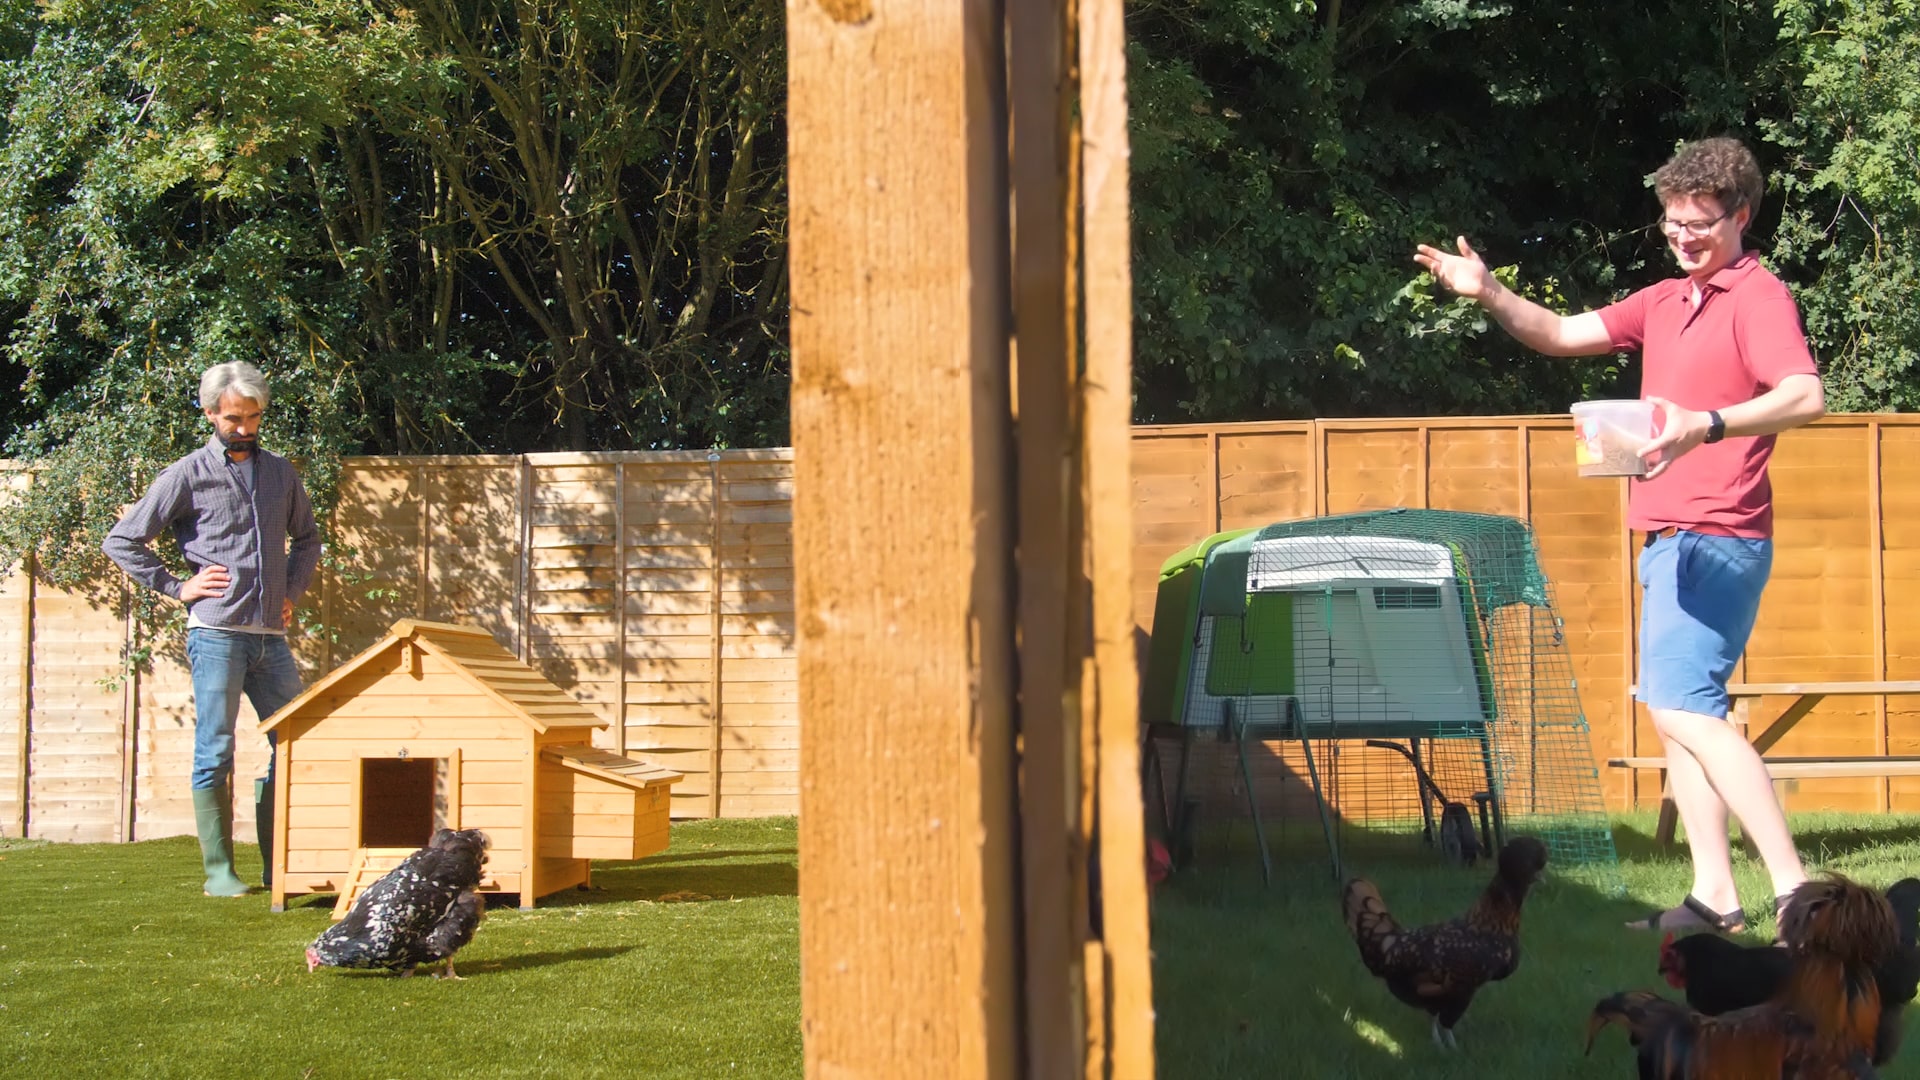
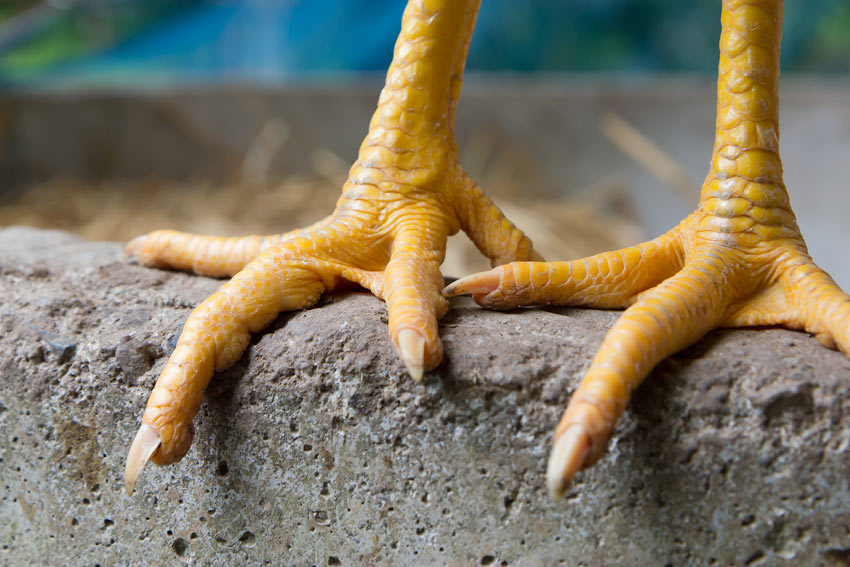 Watching chickens scratch at the frozen ground or strut through the snow, you might wonder how they manage to keep their feet and legs warm. After all, this is one part of their body with no feathers to keep it cosy (unless you happen to have a feathery-legged breed such as the Cochin, Brahma or Silkie).
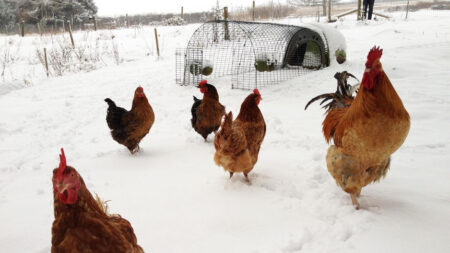
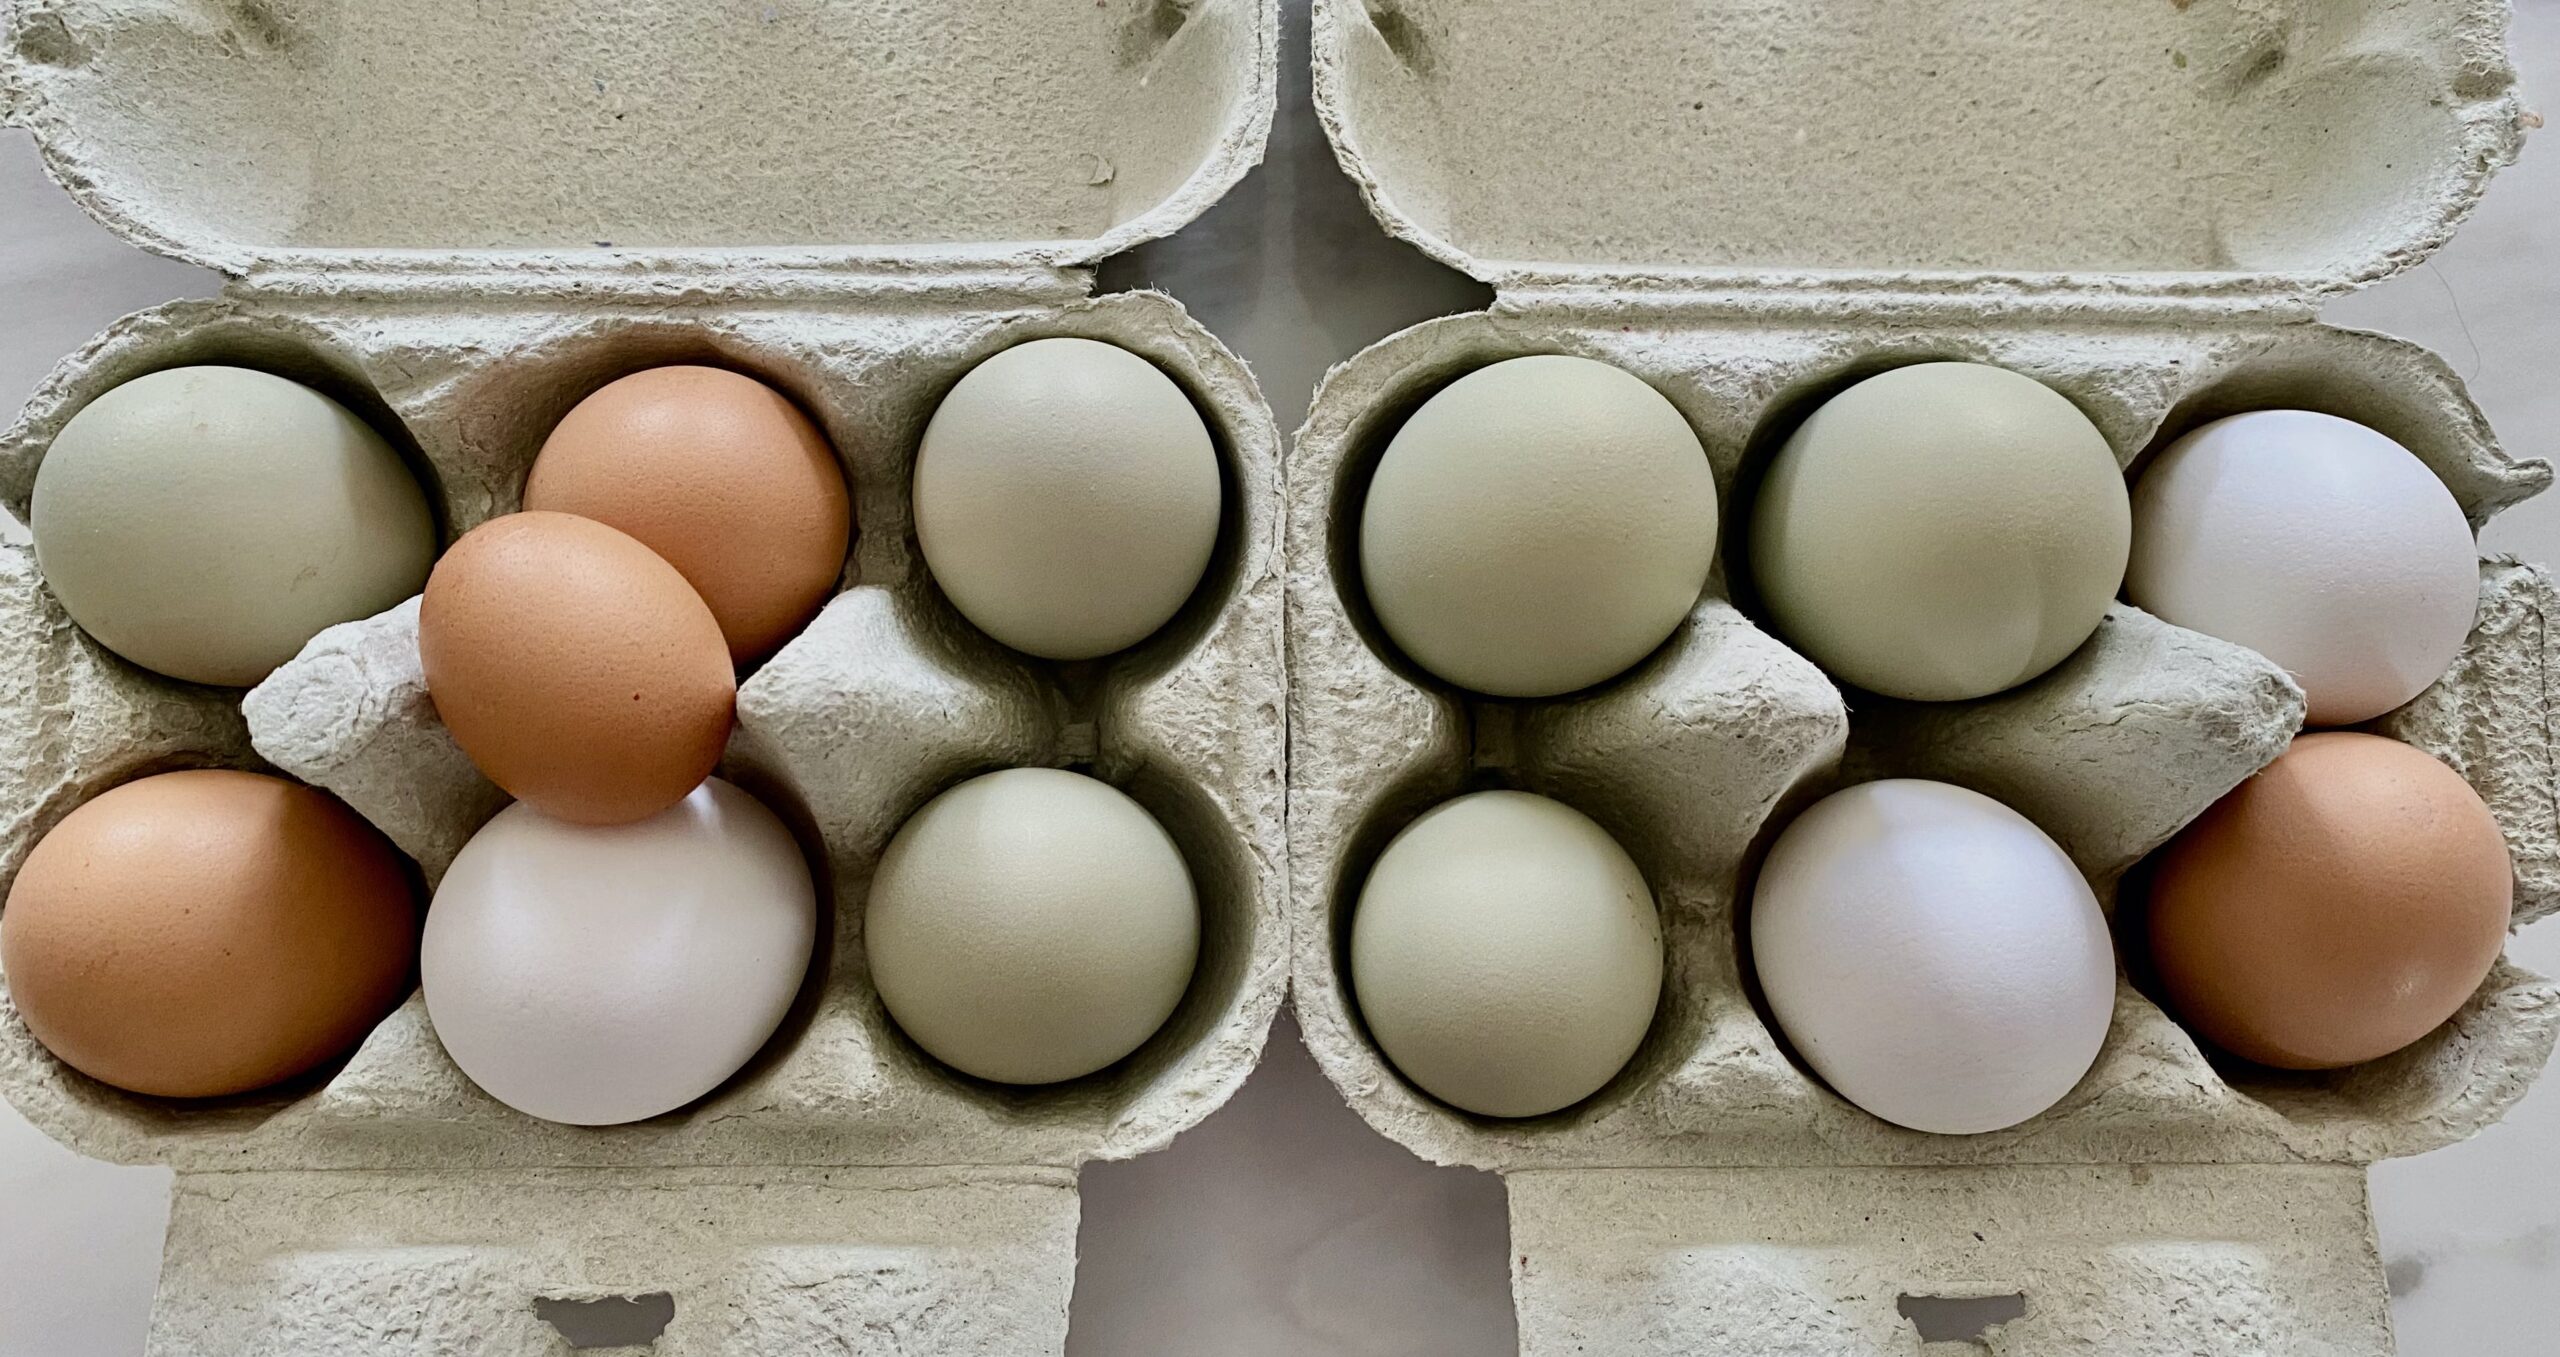
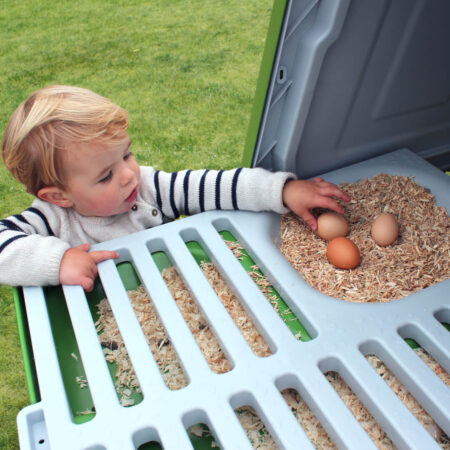
 Insulation
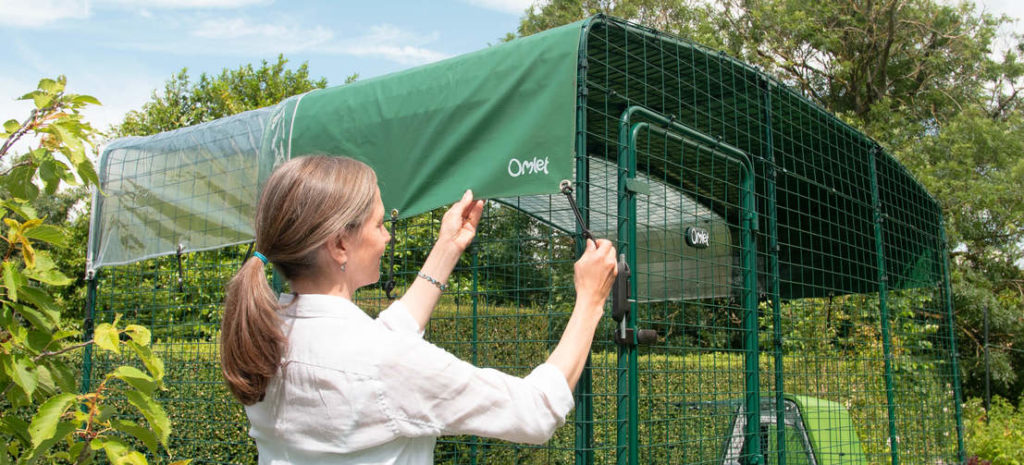


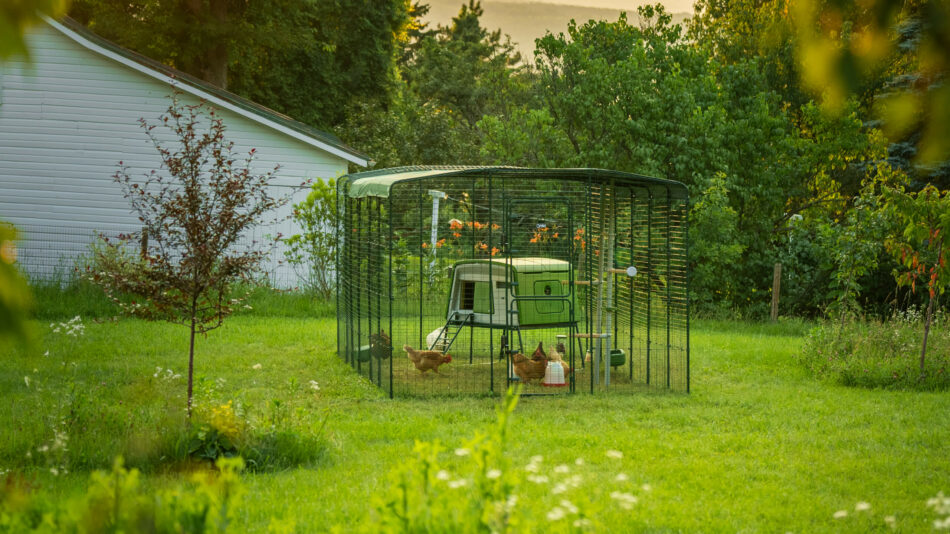
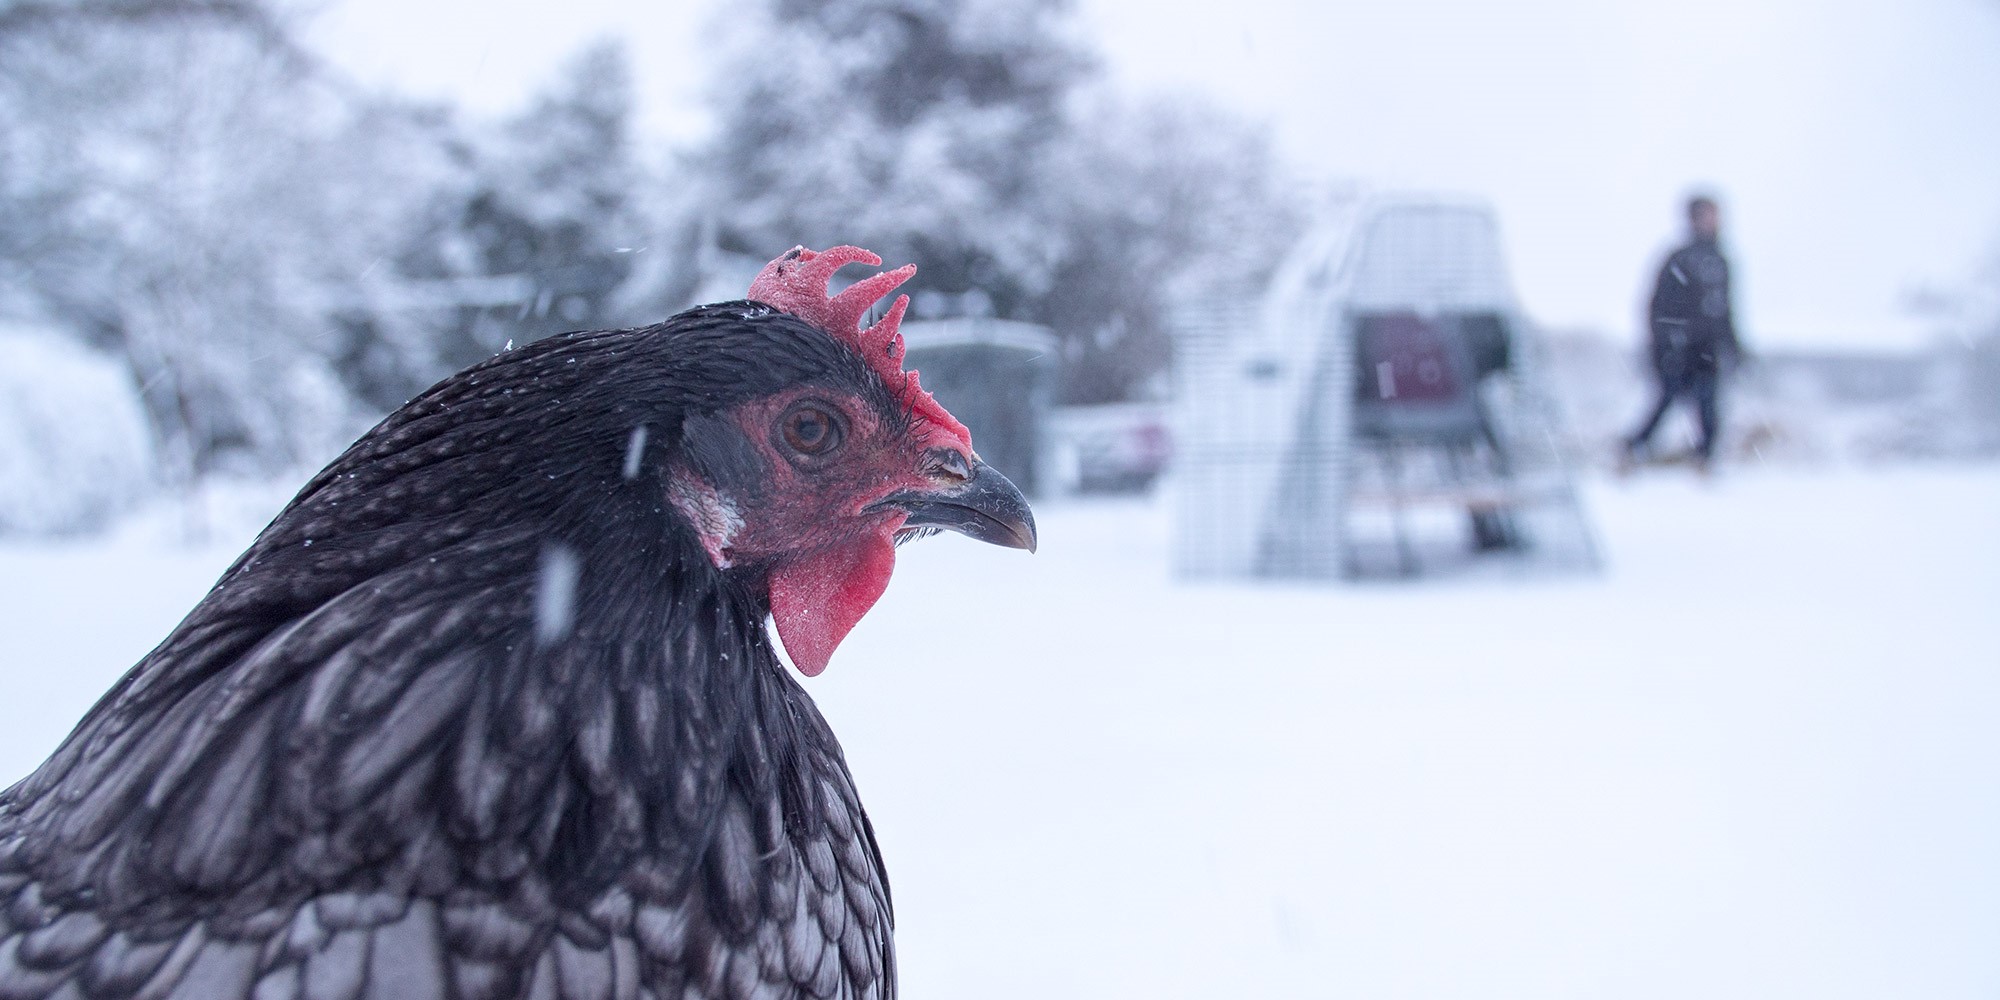
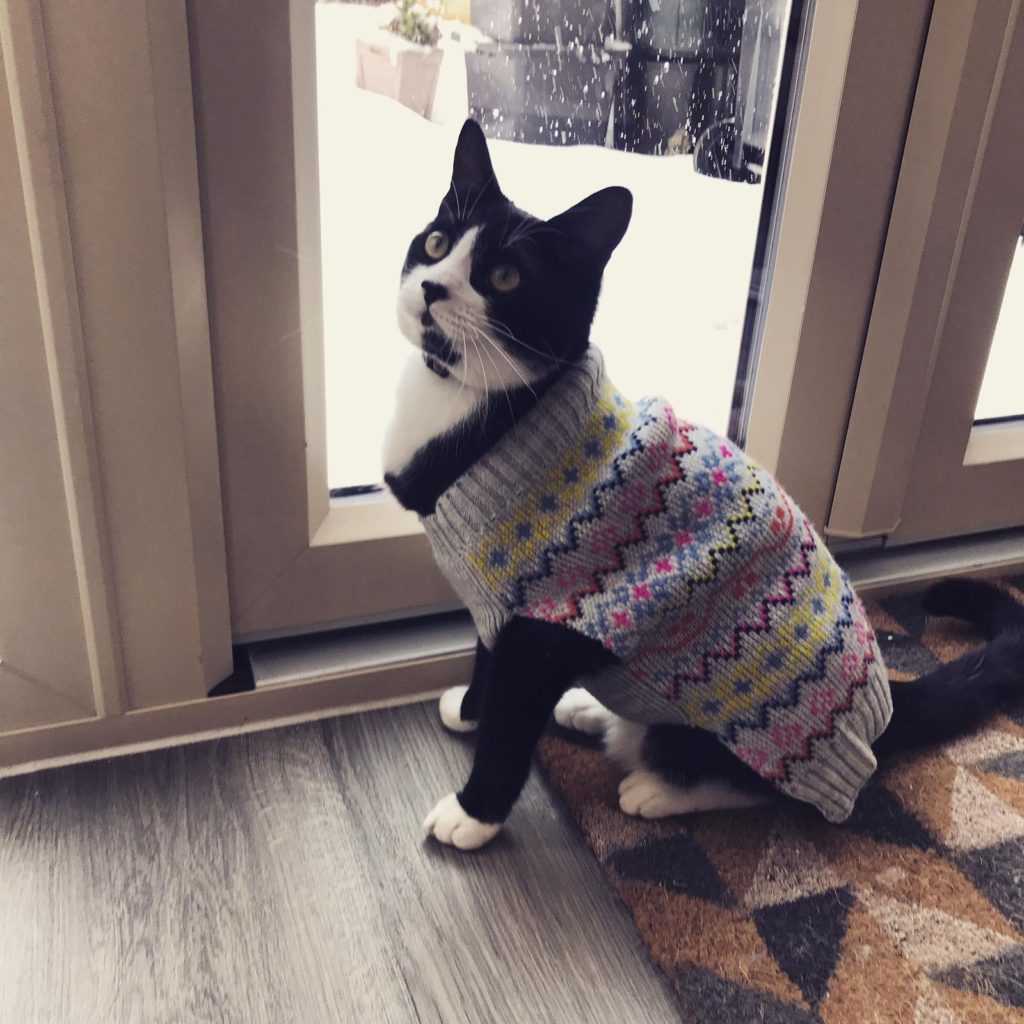
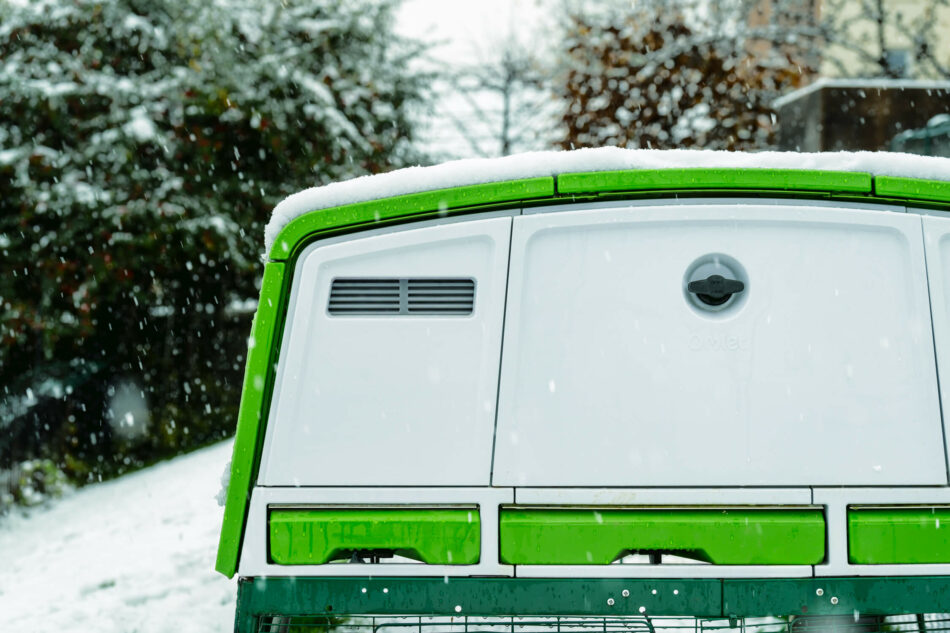
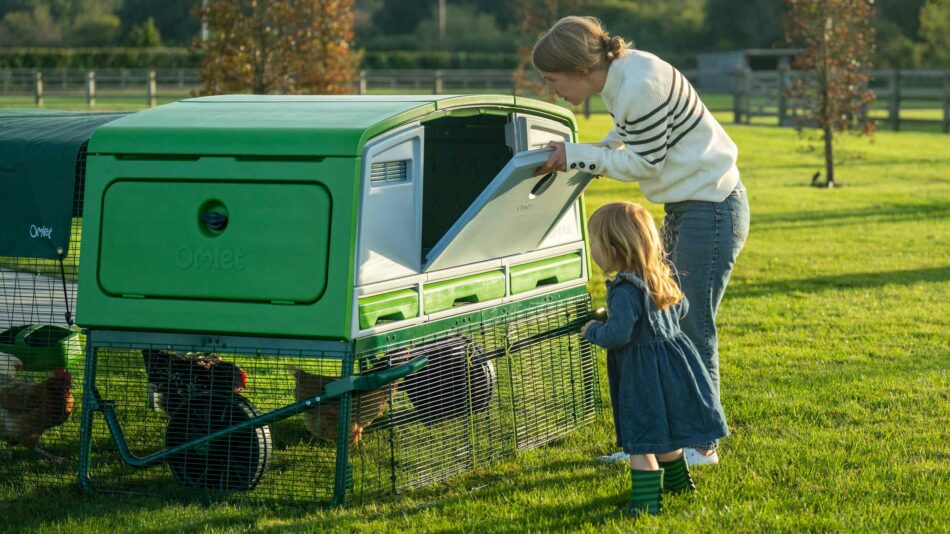
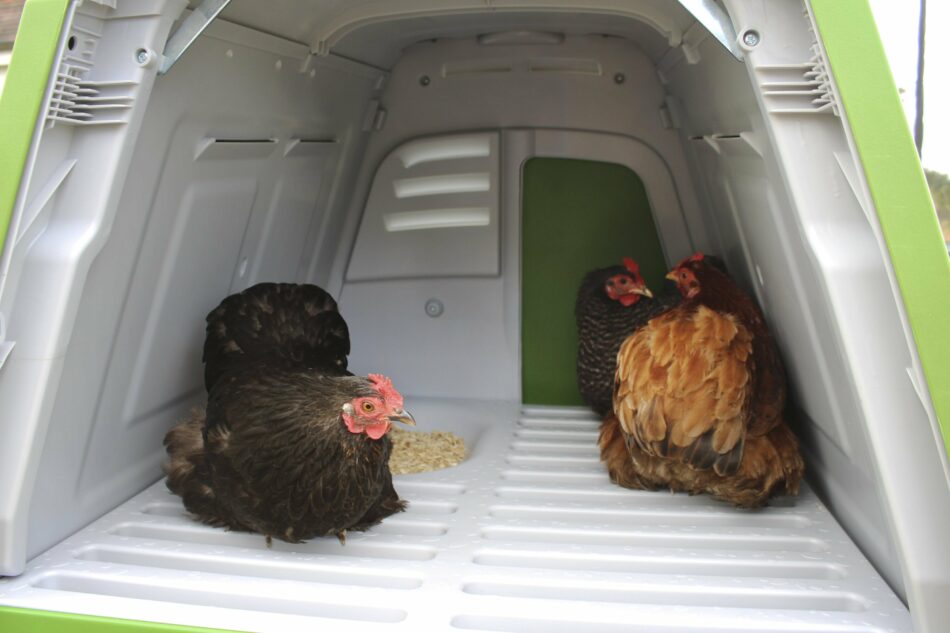


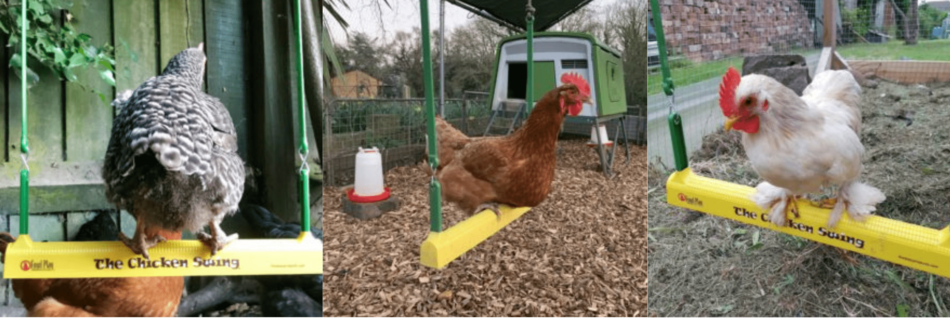
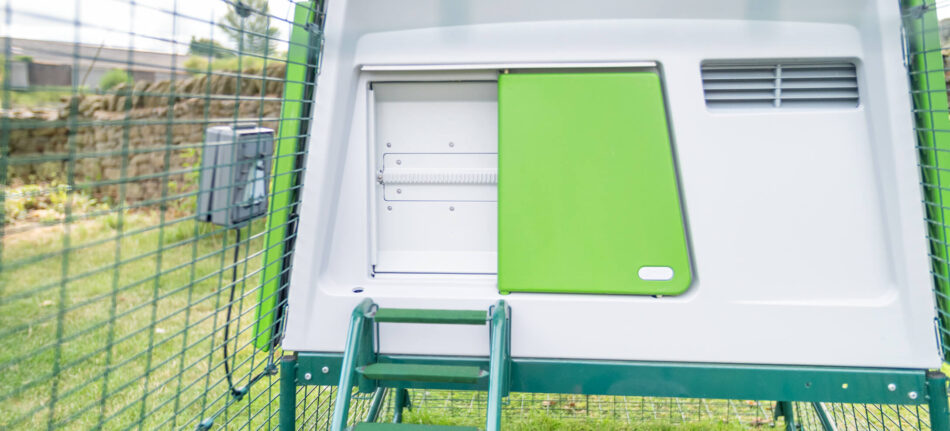
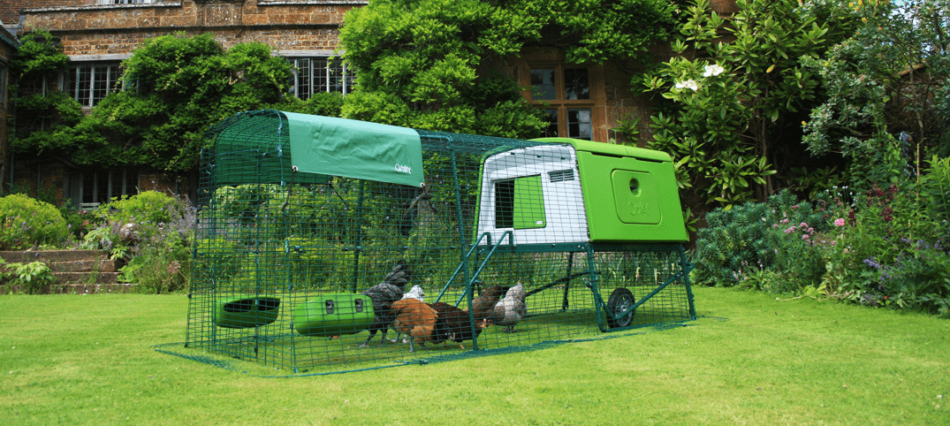
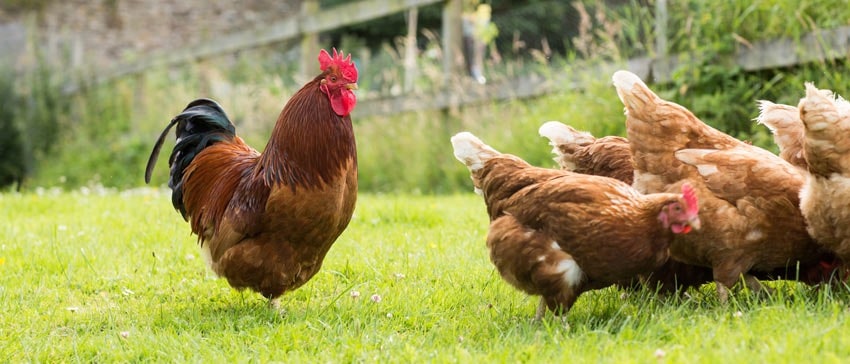
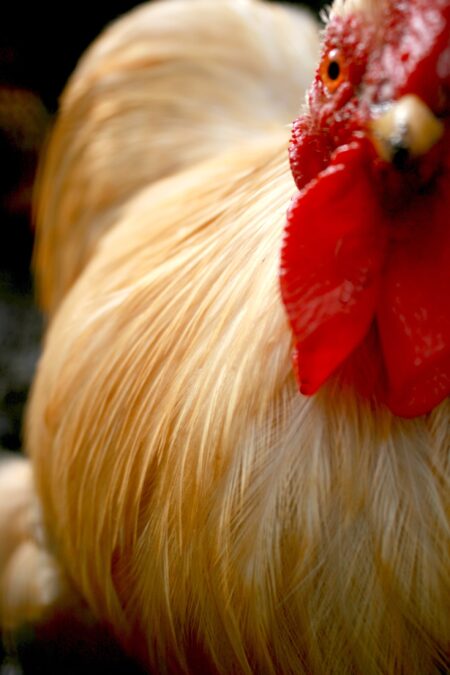 And the downsides?