Stages of raising chickens

If you’re raising a flock from chicks, you’ll want to be able to recognize the stages of raising chickens. Chickens will go through several stages throughout their journey from egg to adult, and each stage has different care requirements. Knowing how to care for your chickens during each phase of their growth will help foster the bond between you and your flock, and ensure that they are healthy and thriving.
Determining the age of a chicken
If you haven’t hatched your chickens from eggs, you may be unsure of their age when you bring them home. There are a few ways to help you determine how old your chickens are:
- Downy feathers: if your chicks are still fuzzy or fluffy in appearance, they are less than 5 weeks old.
- Adult feathers: between 5 and 6 weeks, with the majority of breeds becoming fully feathered by 6-8 weeks of age.
- Laying eggs: at least 16 weeks old
Chickens that are at least 12 weeks old are ready for their permanent homes in their comfy chicken coop and spacious chicken run. It’s important not to introduce them to a raised coop until they are at least 12 weeks old, as younger chicks don’t have the coordination or size to navigate a ladder.
Stage 1: hatching eggs
The best way to determine the age of your chickens is to hatch chicks from eggs. This is actually a relatively quick and easy process once you have the right equipment. It’s a wonder-filled educational experience for children, and when timed right, you can even witness your chicks hatching from their eggs.
Things you’ll need to hatch your own eggs:
- A quality incubator, with or without an automatic egg turner (if you don’t have a turner, you’ll need to rotate the eggs 3-5 times within a 24-hour period)
- A thermometer and hygrometer (if not included with your incubator)
- A calendar
- Fertilized chicken eggs
- Optional: an egg candler to document embryo development
Even if your incubator has an auto-turner, it’s a good idea to mark eggs with a pencil to make sure your incubator is turning your eggs properly. Fertilized chicken eggs can be purchased from farms or breeders, or if you have a rooster, you can collect your own eggs to incubate. It’s important to keep in mind that fertilized chicken eggs have variable hatching success rates. Not all eggs will develop and hatch, even if conditions are just right. To ensure the highest hatch rate, follow the instructions that come with your incubator as closely as possible. If you want to candle eggs to view the developing chick, open and close the incubator as quickly as possible so as to not disrupt the internal temperature and humidity level.
After 21 days of incubating chicken eggs, your chicks should start hatching. You’ll want to “lock down” your incubator by following its instructions during the last few days of incubation. Usually, you’ll add more water to increase humidity levels, lower the temperature slightly, remove the auto-turner (if applicable) and place a non-slip surface under the eggs so newly hatched chicks can get their footing. If you want to watch your chicks emerge from their eggs, watch for “pipping” in the shells of the eggs. A chick will pip (make a tiny hole) in the shell of its egg within 24 hours of hatching. Some chicks progress quickly through the hatching process, while others take the full 24 hours. If you notice a pip in an egg, it’s best to stay close if you don’t want to miss seeing your chick hatch!
Stage 2: young chicks
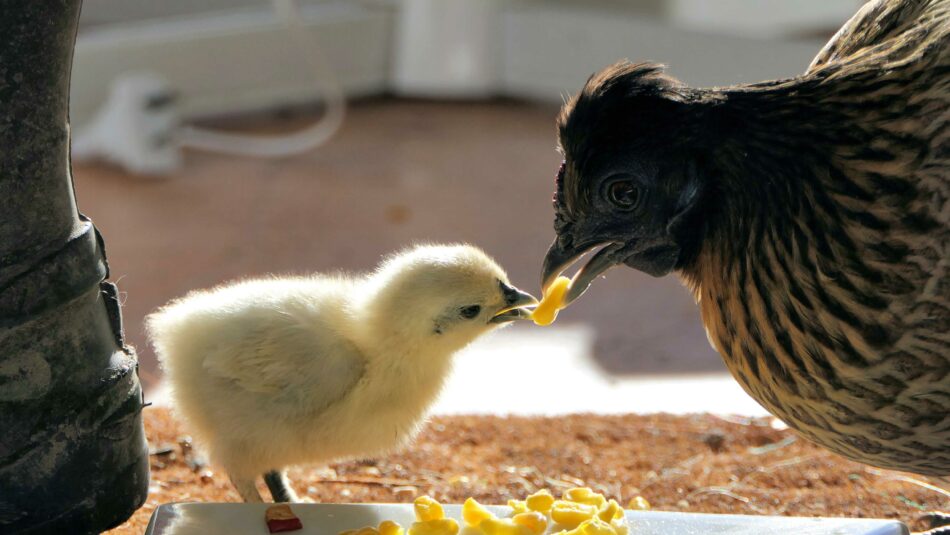
Store or breeder-bought chicks can be purchased as straight runs (non-sexed) or as pullets (determined to be hens). Straight-run chicks can be purchased as early as 1 or 2 days after hatching, while pullets are a little older. Sexing chicks under 8 weeks old (and even older for some breeds) isn’t 100% reliable, but your odds of getting a rooster when purchasing sexed chicks are greatly reduced. Some breeders will even offer to swap out any roosters that were mistakenly sexed for pullets.
All chicks will need a heat lamp and a brooder pen until at least 6 weeks of age. Make sure to have a brooder pen completely set up before bringing your chicks home to avoid common mistakes when raising chickens. Things you’ll need for your brooder include:
- A sturdy enclosure with solid walls, and preferably a top to keep older chicks in and other animals or objects out
- A heat lamp
- Absorbent bedding, such as pine pellets or shavings
- Chick crumble feed
- A chick-safe waterer (a shallow, gravity-fed waterer is best)
- Chick grit to promote healthy digestion
- A thermometer to attach to the side of the brooder to monitor temperature
Chicks that have not been vaccinated for coccidiosis by a breeder will benefit from being fed medicated feed for the first 2-4 weeks of life. After that, they can transition to non-medicated chick crumbles.
At 6 weeks old, most breeds of chicks will be fully feathered with their adult plumage and ready to venture outdoors. Start with short visits in an area enclosed by chicken fencing, making sure to supervise them the entire time. You can also start introducing them to their coop and run during their outdoor visits to get them accustomed to their forever home.
Stage 3: pullets & cockerels
Once chicks reach 5-7 weeks old, most breeds exhibit differences in appearance between pullets (young hens) and cockerels (young roosters). Now in their awkward teenage stage of growth, pullets and cockerels will begin growing their secondary feathers and exhibiting signs of their respective genders.
Cockerels will usually be larger in size and have combs and wattles that are more developed and pronounced than pullets. Pullets will generally have longer flight feathers (the secondary feathers starting mid-wing and extending to the tip), while cockerels will have longer tail feathers. Cockerels will begin to attempt crowing around 6-8 weeks of age, and is the most definitive way to determine their sex.
Young hens are referred to as pullets until around 20 weeks of age, while cockerel is a term used for roosters under 1 year of age. But regardless of gender, your young chickens will need the same care. Pullets will begin laying eggs as early as 18 weeks of age, and will need to be fed laying crumbles or pellets by this time. Cockerels can eat the same diet as your pullets.
Housing requirements are the same for pullets and cockerels, as all chickens need safe spaces to roost, play, and forage. A walk in chicken run is the best option for all flocks, as it allows for plenty of space, and gives keepers an opportunity to join their chickens. All chicken pens should be predator-resistant to protect your flock from chicken predators. Your chicken coop should be able to keep your chickens comfortable all year round, easy for you to clean, and offer a safe place for your flock to roost at night. The Eglu Cube Chicken Coop checks all of these boxes for flocks of up to 10 small breed chickens.
Stage 4: hens & roosters
Once your chickens are fully matured, they’ll start being referred to as hens and roosters. With a few exceptions (such as Silkie chickens, who take longer to mature), the differences between roosters and hens include:
- More pronounced combs and wattles
- Longer tail feathers
- The presence of “spurs” (bony, keratin-covered protrusions on the inside of their legs)
- Crowing
Hens and roosters can usually cohabitate just fine, but it’s important to not have more than one rooster in your flock. If more than one rooster is kept in the same coop and run, fights are bound to occur. You may also notice your hens losing feathers on their neck, back, or under their tails from too much attention from a rooster. If this happens, separate the rooster from your hens until they recover. If this occurs regularly, you may need to find other permanent arrangements for your rooster.
The presence of a rooster is not necessary for egg production. Laying hens will typically produce one egg every day and a half. High egg-producing breeds can lay over 300 eggs per year. Having a safe hen house will give your hens a comfortable space to lay their eggs, which is essential for egg production. You can also encourage your hens to lay more eggs by supplementing their diet – particularly in the winter.
By now your entire flock should be eating high-quality layer crumbles or pellets as 90% of their diet. The other 10% can be made up of scratch grains, forage, fresh vegetables, and high-protein chicken treats such as mealworms.
Stage 5: retirement from laying
While most breeds of chickens have a lifespan of 8-10 years, their fertile, egg-producing years stop short of this mark. By the time a hen is 5 or 6 years of age, egg production will have drastically slowed or come to a complete halt. Hens that are well cared for will act and appear the same as in their younger days, but you may notice subtle differences such as:
- Moving more stiffly or slowly
- A thickening in the bottoms of their feet
- Fewer eggs, but larger in size
- Moving down in the flock’s pecking order
With the absence of additional female hormones, an aging hen may even acquire traits that are usually unique to roosters, such as growing spurs, larger combs or wattles, or even start crowing! This phenomenon is rare, but is not indicative of health issues in an older hen.
4 tips for first-time chicken-keepers
The most important thing to consider when getting chickens for the first time is to evaluate how much time and space you have to dedicate to raising them. If you have an enclosed area such as a shop or a barn to set up a brooder pen, then incubating or purchasing young chicks can be a rewarding experience. Or, if you’re ready to put chickens into a coop and run and collect eggs right away, then getting adult chickens would be the better option.
Whichever you choose, here are 4 tips to remember when getting chickens for the first time:
- Perform your research ahead of time. Decide on which chicken breed(s) you want, how many, and if you want only hens, or a rooster as well.
- Have all of your equipment set up and ready to go. Get to know your incubator and brooder (if applicable), coop, and run to ensure that everything is set up and working properly.
- Find support. No chicken keeper has everything figured out, but many have improved their experience through trial and error, and will have invaluable knowledge as a result.
- Have fun, and maintain a sense of humor! Chickens are enjoyable pets, so be sure to bask in the relaxing days, and keep your head up during the (rare) stressful days.
Caring for your chickens at every stage with Omlet
Omlet has products to support your chicken-keeping journey at every stage. Keeping chickens is a hobby and lifestyle for many people, and can be enjoyed by every member of the family. With flexible options like a chicken tractor, you’ll be able to move your flock around your yard or property with ease. Or, if it’s a more permanent setup you’re after, our large chicken coop can be integrated with our walk in chicken run for the ultimate safe play space.
Make your flock’s setup your own with accessories like chicken perches, a chicken swing, or a chicken toy starter bundle. These accessories can be enjoyed by chickens of all stages: from chicks up to retired hens. And, you’ll be able to enjoy watching your flock foster their natural instincts in these creative ways.
This entry was posted in Chickens
